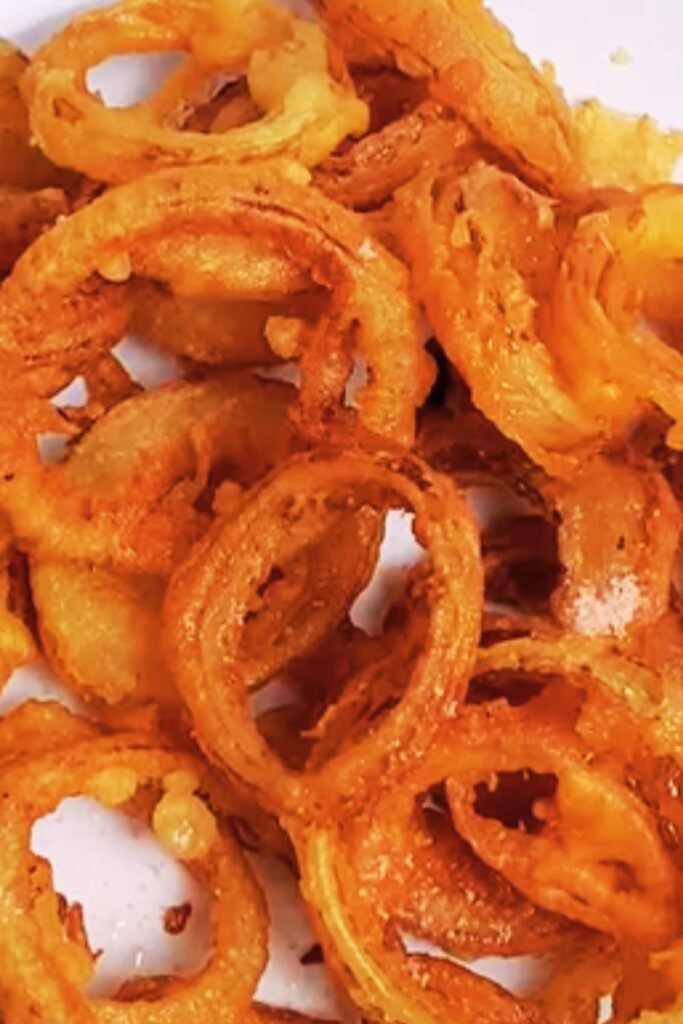
There’s something almost magical about biting into a perfectly cooked onion ring—that satisfying crunch giving way to a sweet, tender onion inside. I’ve spent years perfecting my beer batter recipe, and today I’m sharing all my secrets for creating restaurant-quality onion rings right in your own kitchen. These aren’t just any onion rings; they’re crispy, light, flavorful rings of joy that will have your family and friends begging for more.
Why Beer Batter Makes the Best Onion Rings
Before I dive into the recipe, let me explain why beer batter creates such exceptional onion rings. The carbonation in beer produces tiny air bubbles that, when fried, create a lighter, crispier coating than regular batter. Additionally, the alcohol in beer evaporates quickly when it hits hot oil, contributing to that perfect crunch we’re all after. The malts in beer also add a subtle depth of flavor that water-based batters simply can’t achieve.
When I first started making onion rings at home, I tried numerous methods—from breadcrumb coatings to tempura-style batters. Nothing compared to the golden perfection of a properly made beer batter. It took me dozens of attempts to fine-tune this recipe, but the results are worth every minute spent experimenting.
Selecting the Right Ingredients
The Perfect Onions
Not all onions are created equal when it comes to making onion rings. After extensive testing, I’ve found these varieties work best:
- Sweet onions (Vidalia, Walla Walla, Maui): These are my top choice due to their natural sweetness and mild flavor that contrasts beautifully with the savory batter.
- Yellow onions: More widely available and still excellent for rings, with a slightly stronger flavor.
- White onions: Crispier texture but sharper taste; good if you prefer more onion punch.
- Red onions: Beautiful color but can be too pungent for some palates.
I typically reach for large Vidalia onions when making this recipe. Their natural sweetness caramelizes slightly during frying, creating an incredible flavor profile that keeps me coming back for “just one more ring.”
Choosing the Right Beer
The beer you select will influence both the flavor and texture of your onion rings. Here’s my guidance on beer selection:
| Beer Type | Batter Characteristics | Flavor Profile | Best For |
|---|---|---|---|
| Lager | Light, crispy texture | Mild, clean taste | All-purpose, crowd-pleasing rings |
| Pale Ale | Medium-bodied coating | Slightly hoppy, more pronounced flavor | Gourmet rings, beer lovers |
| Wheat Beer | Fluffy, substantial batter | Subtle wheat notes, slightly tangy | Thicker-style onion rings |
| Stout/Porter | Darker, richer batter | Malty, robust flavor | Bold, statement rings |
| Non-alcoholic beer | Similar to lager but slightly less crisp | Milder flavor | Alcohol-free option with similar results |
Visit Amazon for any required items
I typically use a medium-bodied lager for my everyday onion rings, but when I’m serving them as part of a special meal, I might opt for a craft ale to add more complexity to the flavor.
Oil Selection for Perfect Frying
The right frying oil can make or break your onion rings. After trying many options, here’s what I’ve learned:
| Oil Type | Smoke Point | Flavor | Cost | Recommendation |
|---|---|---|---|---|
| Vegetable/Canola | 400-450°F | Neutral | $ | Excellent all-purpose choice |
| Peanut | 450°F | Slightly nutty | $$ | Superior crispiness but allergenic |
| Sunflower | 450°F | Very neutral | $$ | Great clean taste, light texture |
| Refined Coconut | 450°F | Minimal coconut taste | $$$ | Good for dairy-free diets |
| Avocado | 520°F | Neutral | $$$$ | Healthier option, very stable |
I personally prefer using peanut oil when I can (considering allergies of guests) or a blend of canola and vegetable oil as my go-to option. The high smoke point ensures my oil doesn’t break down during frying, and the neutral flavor lets the onion and batter shine.
My Foolproof Beer Battered Onion Rings Recipe
Ingredients
For the rings:
- 2-3 large sweet onions (Vidalia preferred)
- 2 cups all-purpose flour, divided (1 cup for dredging, 1 cup for batter)
- 1 teaspoon baking powder
- 1 teaspoon salt
- ½ teaspoon garlic powder
- ¼ teaspoon cayenne pepper (optional)
- 1 large egg, room temperature
- 12 oz cold beer (lager or ale)
- 1 tablespoon vinegar (helps tenderize the onion)
- Vegetable or peanut oil for frying (about 2 quarts)
For the seasoning (post-frying):
- 1 teaspoon flaked sea salt
- ½ teaspoon smoked paprika (optional)
- ¼ teaspoon freshly ground black pepper
Equipment Needed
Before starting, make sure you have:
- Deep heavy-bottomed pot or deep fryer
- Candy/deep-fry thermometer (if not using a fryer with temperature control)
- Spider strainer or slotted spoon
- Baking sheet lined with paper towels
- Wire cooling rack
- Mixing bowls (2 large, 1 medium)
- Whisk
- Sharp knife for slicing onions
Visit Amazon for any required items
Step-by-Step Preparation
1. Prepare the Onions
- Peel the onions and remove the ends.
- Slice the onions into ½-inch thick rounds.
- Carefully separate the rings, discarding the small inner rings (or save them for another use).
- Place the rings in a large bowl and cover with cold water mixed with 1 tablespoon of vinegar. Let soak for 15-30 minutes.
- Why I do this: Soaking in cold water removes some of the harsh sulfur compounds and the vinegar helps tenderize the onions. This step is crucial for sweet, tender onion rings!
2. Prepare the Batter Station
While the onions are soaking:
- In a large bowl, place 1 cup of flour for dredging the rings.
- In another large bowl, whisk together the remaining 1 cup flour, baking powder, salt, garlic powder, and cayenne (if using).
- Create a well in the center of the dry ingredients and add the egg.
- Gradually pour in the cold beer while whisking constantly to create a smooth batter.
- My secret tip: Let the batter rest for 10-15 minutes before using. This allows the gluten to relax and the carbonation to work its magic.
3. Heat the Oil
- In a heavy-bottomed pot or deep fryer, add oil to a depth of at least 2 inches.
- Heat the oil to 375°F (190°C). Use a thermometer for accuracy.
- Chef’s note: Temperature control is absolutely critical for perfect onion rings. Too cool, and they’ll absorb too much oil and be soggy. Too hot, and they’ll burn before cooking through.
4. Dredge and Batter the Onion Rings
- Remove the onion rings from the water bath and pat them dry with paper towels.
- Working in small batches (4-5 rings at a time):
- Dredge rings in the plain flour, shaking off excess.
- Dip into the beer batter, allowing excess to drip off.
- Pro tip: Use one hand for dry ingredients and one for wet to avoid creating a sticky mess on your fingers.
5. Fry to Golden Perfection
- Carefully lower battered rings into the hot oil, one at a time.
- Fry for 2-3 minutes, turning halfway through, until golden brown and crispy.
- Monitor your oil temperature between batches, adjusting heat as needed to maintain 375°F.
- Remove rings with a spider strainer or slotted spoon and place on paper towel-lined baking sheet.
- After blotting excess oil, transfer to a wire rack to prevent sogginess.
- Immediately sprinkle with the seasoning mix while still hot.
6. Keep Warm (If Serving Later)
If you’re making multiple batches:
- Heat oven to 200°F (95°C).
- Place finished onion rings on a baking sheet in a single layer.
- Keep warm in the oven until ready to serve (up to 30 minutes).
- Important note: Onion rings are at their absolute best served immediately, but this method helps maintain crispiness if needed.
Visit Amazon for any required items
Common Problems & Solutions
Through years of making onion rings, I’ve encountered nearly every possible issue. Here’s how to avoid common pitfalls:
| Problem | Likely Cause | Solution |
|---|---|---|
| Batter falls off during frying | Onions too wet; flour not adhering | Dry onions thoroughly; press flour into onions before battering |
| Greasy, soggy rings | Oil not hot enough; batter too thick | Maintain 375°F oil temperature; thin batter if needed |
| Rings too dark/burnt | Oil too hot; rings fried too long | Lower temperature to 360-365°F; reduce frying time |
| Batter too thick/clumpy | Over-mixed batter; too little liquid | Mix just until combined; add more beer 1 Tbsp at a time |
| Batter too thin/runny | Too much liquid; not enough flour | Add flour 1 Tbsp at a time until correct consistency |
| Tough rings | Onions sliced too thin; overcooked | Cut onions ½-inch thick; watch frying time carefully |
Serving Suggestions
These beer battered onion rings shine as both a snack and as a side dish. Here are my favorite ways to serve them:
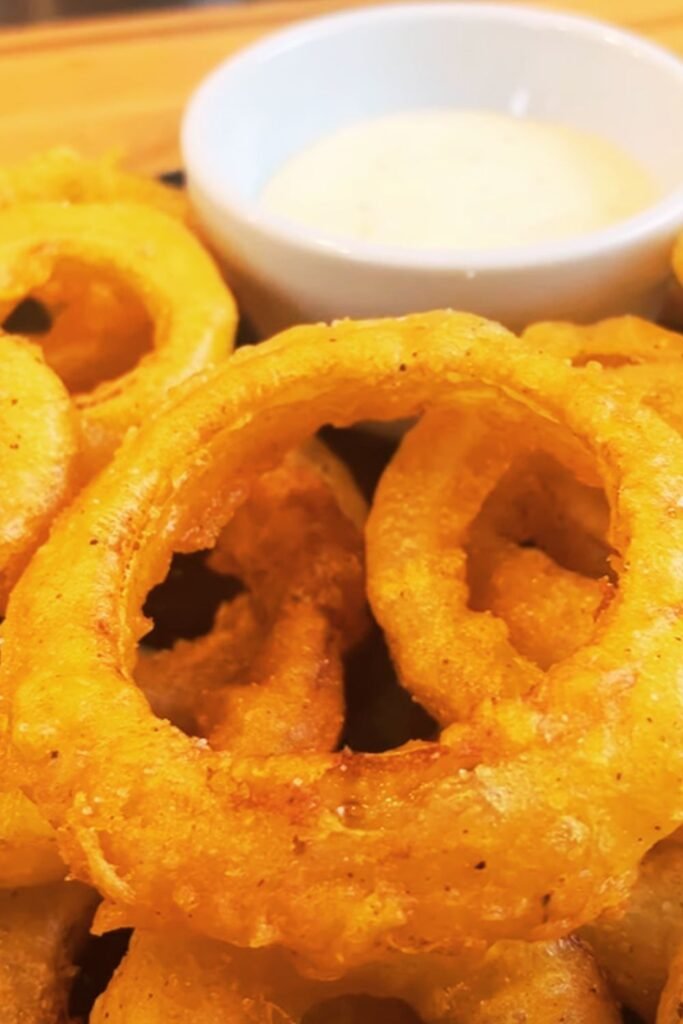
As an Appetizer:
- With a spicy sriracha mayo dip
- Alongside a cool ranch or blue cheese dressing
- With my special “ring sauce” (equal parts ketchup, mayo, and a dash of hot sauce)
As a Side Dish:
- With grilled burgers or sandwiches
- Alongside fried fish for the ultimate fish and chips experience
- With barbecued meats as a crunchy contrast
- Next to a juicy steak as a gourmet alternative to fries
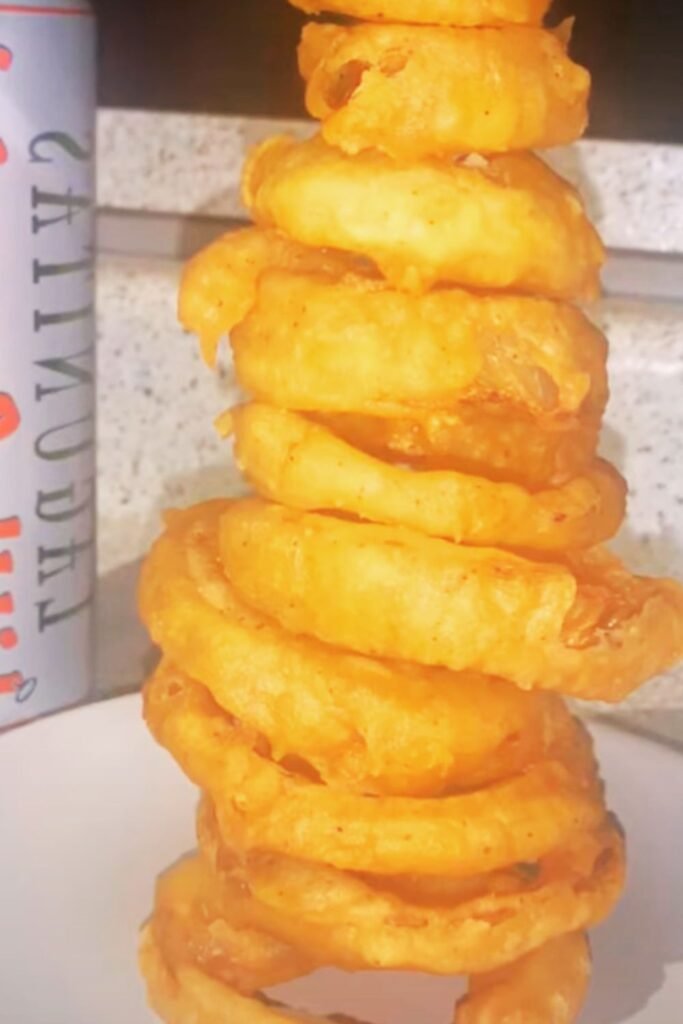
In Creative Main Dishes:
- Stacked on top of burgers for an “onion ring tower” presentation
- As a topping for loaded hot dogs
- Chopped and sprinkled over mac and cheese before baking
- As a crunchy element in hearty salads
Visit Amazon for any required items
Special Dietary Adaptations
Over the years, I’ve adapted this recipe for friends with various dietary needs:
Gluten-Free Version
- Replace all-purpose flour with a gluten-free all-purpose blend
- Add ¼ teaspoon xanthan gum to help binding
- Use gluten-free beer or seltzer water with 1 tablespoon apple cider vinegar
Vegan Option
- Omit the egg and replace with 3 tablespoons aquafaba (liquid from canned chickpeas)
- Check that your beer is vegan (most are, but some craft beers use honey or other animal products)
Lower-Carb Variation
- Use a mix of almond flour and coconut flour instead of all-purpose
- Replace some or all of the beer with seltzer water
- Note: This version won’t get quite as crispy, but still satisfies the craving
Make-Ahead and Storage Tips
While onion rings are best enjoyed fresh, there are ways to prep ahead and store leftovers:
Make-Ahead Prep
- Slice onions up to 2 days ahead and store in water in the refrigerator
- Mix dry ingredients for the batter and store in an airtight container
- Complete all prep work (setting up stations, measuring ingredients) before guests arrive
Storing Leftovers
- Allow leftover rings to cool completely
- Store in an airtight container with paper towels between layers
- Refrigerate for up to 2 days
Reheating for Best Results
- Oven method: 375°F for 5-7 minutes on a wire rack over a baking sheet
- Air fryer: 360°F for 2-3 minutes
- Avoid microwave reheating, which makes them soggy
Tips From My Kitchen to Yours
After making thousands of onion rings over the years, I’ve collected these additional tips:
- Temperature consistency is key: Use a deep-fry thermometer even if you think you can eyeball it. Even professional chefs check their oil temp.
- Perfect batter consistency: The batter should coat the back of a spoon but slowly drip off. Too thick, and your rings will be doughy; too thin, and the batter won’t adhere properly.
- Don’t overcrowd the fryer: Adding too many rings at once drops the oil temperature dramatically, resulting in greasy rings. Patience yields better results.
- Salt immediately after frying: Seasoning while hot ensures the salt sticks to the rings and enhances the flavor.
- Taste test your onions: If your onions taste particularly strong or sharp raw, soak them longer in cold water before battering.
- Double-coating technique: For extra-crispy rings, dredge in flour, dip in batter, then return to flour before frying. This creates an incredibly crunchy exterior.
- Maintain proper oil care: Strain and reuse oil up to 3-4 times for frying. After each use, let cool, strain through cheesecloth, and store in an airtight container.
Visit Amazon for any required items
Frequently Asked Questions
Q: Can I make beer battered onion rings without beer? Absolutely! While beer adds flavor and texture, you can substitute seltzer water or club soda with a teaspoon of apple cider vinegar to mimic the carbonation effect. The taste will be slightly different but still delicious.
Q: Why does my batter slide off during frying? This typically happens when the onions are too wet or the batter is too thin. Make sure to thoroughly dry your onions after soaking, and ensure your batter has a consistency similar to pancake batter—able to coat the back of a spoon.
Q: Can I use an air fryer instead of deep frying? While traditional deep frying gives the best results, you can use an air fryer. Spray the battered rings with cooking oil, then air fry at 380°F for about 8-10 minutes, flipping halfway through. The texture won’t be identical, but they’ll still be tasty.
Q: How do I know when the oil is hot enough without a thermometer? Drop a small amount of batter into the oil. If it sizzles immediately and floats to the top, your oil is ready. If it sinks and barely bubbles, it’s too cold. If it browns instantly, it’s too hot.
Q: My onion rings turned out greasy. What went wrong? Greasy rings usually indicate the oil wasn’t hot enough. When frying at too low a temperature, the batter absorbs oil instead of creating a crisp exterior. Always maintain 375°F and avoid overcrowding the pot.
Q: Can I freeze homemade onion rings? Yes! Flash-freeze them on a baking sheet after frying and cooling, then transfer to a freezer bag. Reheat from frozen in a 425°F oven for 10-15 minutes until heated through and crispy.
Q: What’s the best way to slice onions evenly? After peeling, cut off one end of the onion but leave the root end intact. This gives you stability while slicing. Use a sharp knife and cut perpendicular to the root in ½-inch increments for perfect rings.
Q: My batter is too thick/thin. How do I fix it? For thick batter, add more beer one tablespoon at a time. For thin batter, add more flour one tablespoon at a time. Always mix gently to avoid developing too much gluten, which can make the batter tough.
A Final Note on Perfect Beer Battered Onion Rings
Making truly exceptional onion rings takes practice, but even your first batch will be delicious following these detailed instructions. The key is understanding the science behind what makes them crispy—proper temperature, the right batter consistency, and careful attention to detail.
I remember my grandmother making onion rings on special occasions, and the anticipation we felt as the familiar aroma filled the kitchen. Now, I carry on that tradition, having refined her recipe over the years with my own discoveries. There’s something profoundly satisfying about mastering a seemingly simple food and elevating it to gourmet status.
Whether you’re serving these golden rings at a backyard barbecue, as a game day snack, or alongside a special dinner, they’re sure to become a requested favorite. The combination of a sweet, tender onion encased in a crispy, flavorful coating is simply irresistible.
If you try this recipe, I’d love to hear how it turned out for you. Happy cooking, and enjoy every crunchy, flavorful bite!