I’ve been baking for over fifteen years, and nothing quite compares to the joy I see on people’s faces when they bite into these incredible Big Blue Monster Stuffed Cookies. These aren’t your ordinary cookies – they’re oversized, vibrant blue beauties packed with chocolate chips, stuffed with gooey surprises, and guaranteed to become your new favorite indulgence.
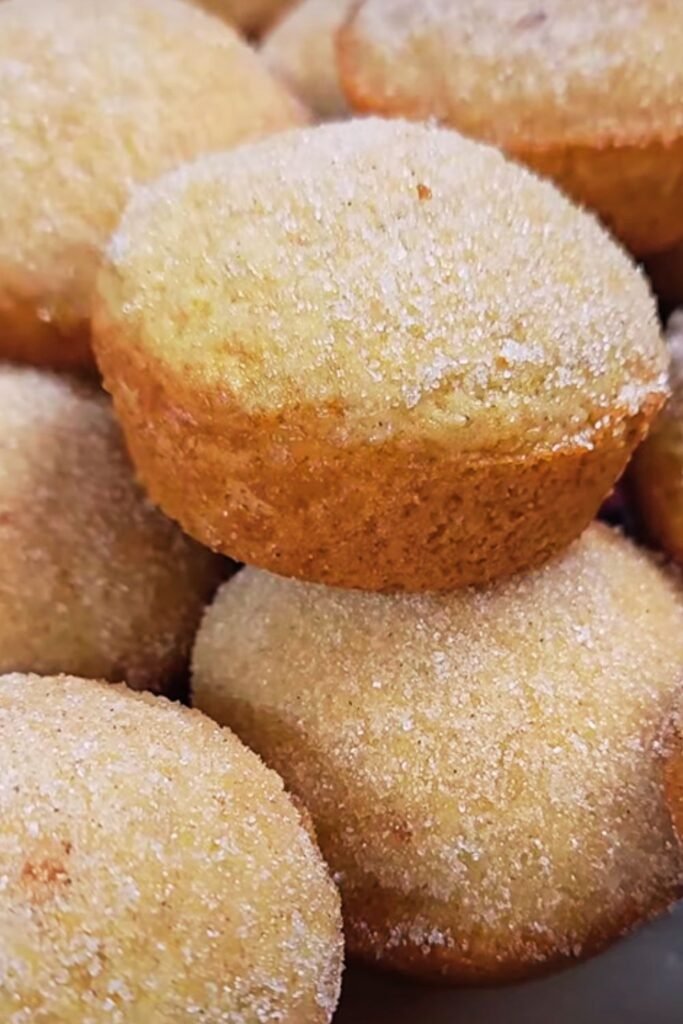
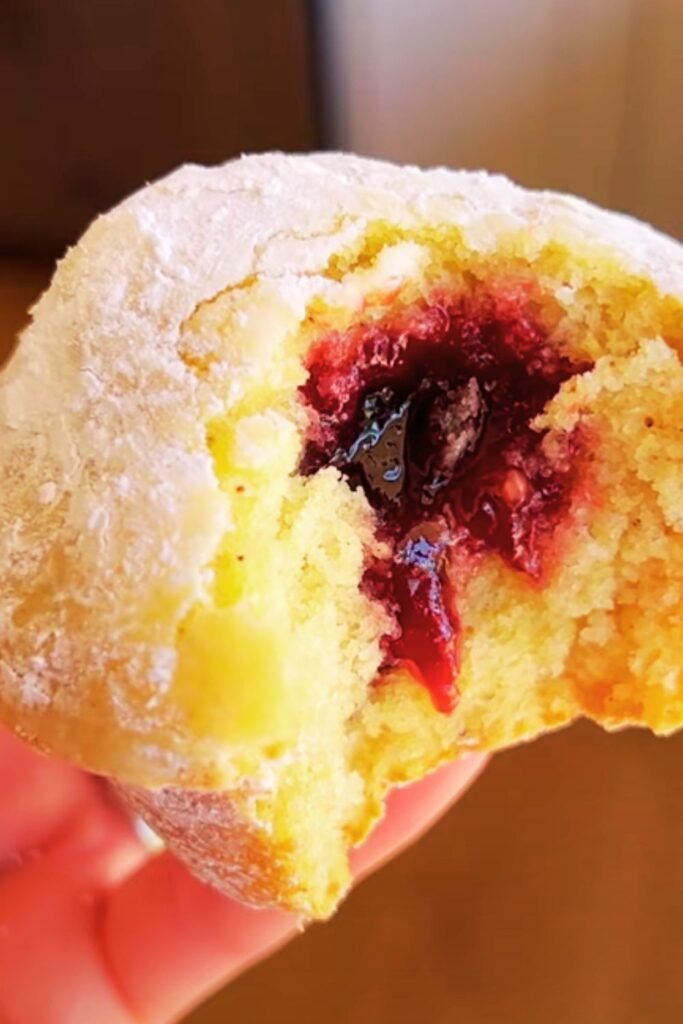
What makes these cookies truly special isn’t just their striking appearance or generous size. It’s the perfect balance of textures and flavors that creates an unforgettable eating experience. The exterior has that classic cookie crinkle with a slightly crispy edge, while the interior remains wonderfully soft and chewy. But here’s where it gets exciting – each cookie hides a delicious surprise filling that oozes out with every bite.
Understanding the Magic Behind Monster Cookies
Monster Cookies: Large-format cookies that typically contain multiple mix-ins like chocolate chips, candies, nuts, and sometimes oats, creating a “monstrous” combination of flavors and textures.
Blue Coloring: Food-grade coloring that gives these cookies their distinctive monster-like appearance while maintaining the same delicious taste as traditional cookies.
Stuffed Cookies: Cookies with a filling baked inside, creating a surprise center that can range from chocolate ganache to cream cheese filling or even cookie dough.
Crinkle Effect: The natural cracking pattern that appears on cookie surfaces during baking, often enhanced by rolling in powdered sugar before baking.
The beauty of these cookies lies in their versatility. I’ve experimented with countless variations over the years, and each one brings something new to the table. Whether you’re baking for a children’s party, a bake sale, or simply want to treat yourself to something extraordinary, these cookies deliver every single time.
Essential Ingredients and Their Roles
Creating the perfect Big Blue Monster Stuffed Cookies requires understanding how each ingredient contributes to the final result. I’ve learned through trial and error that quality ingredients make all the difference.
| Ingredient | Purpose | Quality Tips |
|---|---|---|
| All-purpose flour | Structure and texture | Use unbleached for better flavor |
| Butter | Richness and moisture | Room temperature, high-fat content |
| Brown sugar | Moisture and chewiness | Dark brown for deeper flavor |
| Granulated sugar | Sweetness and spread | Fine granulation works best |
| Eggs | Binding and structure | Large eggs at room temperature |
| Vanilla extract | Flavor enhancement | Pure vanilla, not imitation |
| Blue food coloring | Visual appeal | Gel coloring for vibrant results |
| Chocolate chips | Texture and flavor | Semi-sweet or milk chocolate |
| Baking soda | Leavening agent | Fresh, not expired |
| Salt | Flavor enhancement | Sea salt or kosher salt |
The flour forms the backbone of our cookies, providing the structure needed to support all those mix-ins. I always measure my flour by weight when possible – it’s more accurate and ensures consistent results every time. The combination of brown and granulated sugars creates that perfect chewy texture I’m after, while the brown sugar adds moisture that keeps these cookies soft for days.
Filling Options That Will Blow Your Mind
One of my favorite aspects of these cookies is experimenting with different fillings. Each option creates a unique experience that keeps people coming back for more.
Chocolate Ganache Filling: Rich, creamy, and indulgent
- Heavy cream and dark chocolate create a luxurious center
- Sets to a perfect consistency when cooled
- Pairs beautifully with the cookie’s sweetness
Cookie Dough Filling: Raw cookie dough made safe for consumption
- Eggless recipe using heat-treated flour
- Captures that nostalgic cookie dough flavor
- Appeals to both kids and adults
Cream Cheese Filling: Tangy and smooth
- Balances the cookie’s sweetness perfectly
- Can be flavored with vanilla or lemon
- Creates a delightful contrast in texture
Peanut Butter Filling: Nutty and satisfying
- Works especially well with chocolate chips
- Creates a classic flavor combination
- Adds protein and richness
Step-by-Step Baking Process
My method for creating these show-stopping cookies has been refined through countless batches. Each step serves a specific purpose in achieving that perfect texture and appearance.
Preparation Phase
- Preheat oven to 350°F (175°C)
- Line baking sheets with parchment paper
- Prepare your chosen filling and chill for easier handling
- Bring all ingredients to room temperature
Cookie Dough Creation
I start by creaming the butter with both sugars until the mixture becomes light and fluffy. This process incorporates air and creates the foundation for our cookie’s texture. The mixture should be pale in color and increased in volume – this usually takes about 3-4 minutes with a stand mixer.
Next, I add the eggs one at a time, ensuring each is fully incorporated before adding the next. The vanilla extract goes in with the final egg. This is where I add my blue food coloring, starting with a small amount and gradually increasing until I achieve that vibrant monster blue color.
The dry ingredients get mixed separately first – flour, baking soda, and salt whisked together to ensure even distribution. I add these dry ingredients to the wet mixture gradually, mixing just until combined. Overmixing leads to tough cookies, and nobody wants that.
Assembly and Stuffing Technique
Here’s where the magic happens. I scoop about 2 tablespoons of dough, flatten it in my palm, add a teaspoon of my chosen filling, then top with another portion of dough. The key is sealing the edges completely – any gaps will cause the filling to leak during baking.
| Dough Portion | Filling Amount | Final Cookie Size |
|---|---|---|
| 2 tablespoons | 1 teaspoon | 3-4 inches |
| 3 tablespoons | 1.5 teaspoons | 4-5 inches |
| 4 tablespoons | 2 teaspoons | 5-6 inches |
Rolling each stuffed portion into a ball helps create that perfect round shape. I place them on the prepared baking sheets with plenty of space between each cookie – they spread considerably during baking.
Baking and Timing
The baking process requires attention to detail. I bake these cookies for 10-12 minutes, depending on size. The edges should be set but the centers still look slightly underdone. They’ll continue cooking on the hot pan after removal from the oven.
Temperature control is crucial. Too hot, and the outsides brown before the centers cook through. Too cool, and they spread too much and lose their shape. I’ve found 350°F to be the sweet spot for most ovens.
Nutritional Information and Serving Suggestions
Understanding the nutritional content helps with portion planning and dietary considerations. These are definitely indulgent treats, but knowing the numbers helps make informed choices.
| Nutrient | Per Cookie (Large) | % Daily Value |
|---|---|---|
| Calories | 285 | 14% |
| Total Fat | 12g | 18% |
| Saturated Fat | 7g | 35% |
| Cholesterol | 35mg | 12% |
| Sodium | 180mg | 8% |
| Total Carbs | 42g | 14% |
| Dietary Fiber | 2g | 8% |
| Sugars | 28g | – |
| Protein | 4g | 8% |
These cookies pair wonderfully with various beverages and accompaniments:
- Cold milk (classic and comforting)
- Hot coffee or espresso (cuts through the sweetness)
- Vanilla ice cream (for an over-the-top dessert)
- Fresh berries (adds freshness and color contrast)
- Whipped cream (extra indulgence)

Storage and Freshness Tips
Proper storage ensures these cookies maintain their texture and flavor for as long as possible. I’ve tested various methods to find what works best.
Room Temperature Storage: Store in airtight containers for up to one week. Place parchment paper between layers to prevent sticking.
Refrigerator Storage: Extends shelf life to 2-3 weeks. Allow cookies to come to room temperature before serving for best texture.
Freezer Storage: Properly wrapped cookies freeze beautifully for up to three months. Freeze individually on trays first, then transfer to freezer bags.
Dough Storage: Cookie dough can be prepared ahead and refrigerated for up to 3 days or frozen for up to 3 months. This makes spontaneous baking sessions possible.
Troubleshooting Common Issues
Through my years of baking these cookies, I’ve encountered and solved numerous challenges. Here are the most common issues and their solutions:
Cookies Spreading Too Much
- Chill dough for 30 minutes before baking
- Ensure butter isn’t too warm
- Check that baking soda is fresh
Filling Leaking Out
- Seal edges more thoroughly
- Reduce filling amount slightly
- Chill assembled cookies before baking
Uneven Coloring
- Mix gel coloring more thoroughly
- Add coloring gradually for even distribution
- Avoid liquid food coloring which can affect texture
Dry or Tough Texture
- Don’t overbake – centers should look slightly underdone
- Measure flour accurately (don’t pack)
- Ensure proper fat content in ingredients
Creative Variations and Seasonal Adaptations
My love for these cookies has led me to develop numerous variations that keep things exciting throughout the year.
Holiday Variations:
- Christmas: Red and green coloring with peppermint filling
- Halloween: Orange coloring with caramel filling
- Valentine’s Day: Pink coloring with strawberry cream filling
- Easter: Pastel colors with lemon curd filling
Flavor Combinations I Love:
- Chocolate cookie base with marshmallow filling
- Vanilla base with Nutella filling
- Funfetti style with birthday cake filling
- Coconut base with tropical fruit filling
Professional Tips for Perfect Results
After baking thousands of these cookies, I’ve learned techniques that consistently produce bakery-quality results at home.
Temperature Matters: Room temperature ingredients blend more easily and create better texture. I take my eggs and butter out an hour before baking.
Scaling Recipes: When doubling or tripling recipes, increase mixing times proportionally. Larger batches need more time to achieve proper incorporation.
Oven Knowledge: Every oven bakes differently. I recommend using an oven thermometer and rotating pans halfway through baking for even results.
Quality Control: I always bake a test cookie first when trying new variations. This allows me to adjust timing and temperature if needed.
Questions and Answers
Q: Can I make these cookies without food coloring? Absolutely! The blue coloring is purely for visual appeal. Without it, you’ll have delicious monster cookies that are more traditional in appearance but identical in taste.
Q: What’s the best way to achieve that vibrant blue color? I recommend using gel food coloring rather than liquid. Start with a small amount and gradually add more until you reach your desired shade. Gel coloring doesn’t affect the cookie’s texture like liquid coloring can.
Q: Can I prepare the cookie dough ahead of time? Yes! Cookie dough can be made up to 3 days in advance and stored in the refrigerator. You can also freeze scooped cookie dough balls for up to 3 months. Bake directly from frozen, adding 1-2 extra minutes to the baking time.
Q: My cookies turned out flat. What went wrong? Flat cookies usually result from butter that’s too warm, old baking soda, or overmixing the dough. Make sure your butter is at room temperature but not melted, and check that your baking soda is fresh.
Q: Can I use different types of chocolate chips? Absolutely! I love experimenting with different chocolate varieties. White chocolate chips, dark chocolate chunks, mini chocolate chips, or even butterscotch chips all work wonderfully.
Q: How do I prevent the filling from leaking during baking? The key is proper sealing. Make sure to pinch the dough edges together firmly and completely encase the filling. Chilling the assembled cookies for 15-20 minutes before baking also helps.
Q: Can I make smaller versions of these cookies? Yes! You can make mini versions using about 1 tablespoon of dough per cookie and reducing the filling accordingly. Bake for 8-10 minutes instead of the full time.
Q: What’s the secret to keeping them soft and chewy? Don’t overbake them! The centers should still look slightly underdone when you remove them from the oven. They’ll continue cooking on the hot pan. Also, storing them with a slice of bread helps maintain moisture.
These Big Blue Monster Stuffed Cookies have become my signature treat, and I’m confident they’ll become yours too. The combination of visual appeal, incredible taste, and endless customization options makes them perfect for any occasion. Whether you’re an experienced baker or just starting your baking journey, these cookies offer the perfect opportunity to create something truly special that will have everyone asking for the recipe.