There’s something magical about the combination of shrimp, butter, and garlic that never fails to impress dinner guests. I’ve been perfecting this Buttery Baked Shrimp recipe for years, and it’s become my go-to dish when I want something that feels special but requires minimal effort. The beauty of this dish lies in its simplicity – just a few quality ingredients coming together to create something truly remarkable.
When I first started cooking seafood at home, I was intimidated by shrimp. Would I overcook them? Would they be rubbery? But this foolproof baking method changed everything for me. The gentle heat of the oven, combined with a protective blanket of seasoned butter, ensures perfectly cooked, succulent shrimp every single time.
What makes this recipe truly seasonal is how adaptable it is to whatever fresh herbs you might have growing in your garden or available at your local farmer’s market. In spring, I love using tender chives and dill. Summer calls for basil and oregano, while fall and winter dishes benefit from heartier rosemary and thyme. The recipe I’m sharing today uses a combination that works year-round, but feel free to adjust based on what’s fresh and available to you.
What You’ll Need
Ingredients
- 2 pounds large shrimp (16-20 count), peeled and deveined, tails on
- 8 tablespoons (1 stick) unsalted butter
- 6 cloves garlic, minced
- 1/4 cup fresh parsley, finely chopped
- 2 tablespoons fresh lemon juice
- 1 tablespoon lemon zest
- 1 teaspoon red pepper flakes (adjust to taste)
- 1 teaspoon sea salt
- 1/2 teaspoon freshly ground black pepper
- 1/4 cup dry white wine (optional)
- 2 tablespoons olive oil
- Additional lemon wedges for serving
- Extra chopped fresh herbs for garnish
Equipment
- 9×13 inch baking dish
- Mixing bowls
- Whisk
- Small saucepan
- Measuring spoons and cups
- Sharp knife and cutting board
- Microplane or zester
- Garlic press (optional)
Selecting the Perfect Shrimp
The foundation of this dish is quality shrimp, so I always recommend taking a few extra minutes to select the best possible option. When I’m shopping for shrimp, I look for:
- Size: For this recipe, large shrimp (16-20 per pound) work best. They’re substantial enough to hold up to the baking process without overcooking.
- Freshness: If buying fresh, the shrimp should smell like the ocean – clean and briny, never fishy.
- Frozen vs. Fresh: Don’t shy away from frozen shrimp! Unless you live coastal, most “fresh” shrimp at supermarkets were previously frozen anyway. Frozen shrimp are often flash-frozen shortly after being caught, preserving their freshness.
- Sustainable Options: When possible, I look for sustainably sourced shrimp with certifications from organizations like the Marine Stewardship Council.
- Pre-Prepared: While I prefer buying them with shells on for flavor, for convenience, you can purchase them already peeled and deveined.
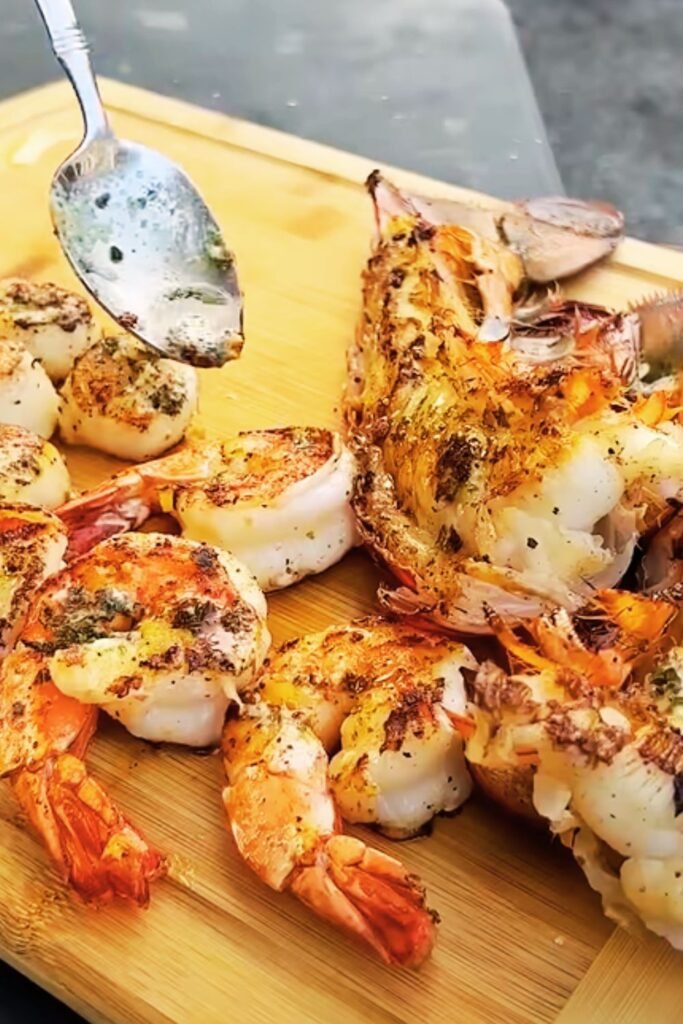
I’ve found that leaving the tails on adds both visual appeal and a handle for easy eating, but this is entirely up to your preference. If you’re serving this as part of a more formal dinner, tail-on creates that restaurant-quality presentation I love.
Preparing Your Butter Sauce
The heart and soul of this dish is undoubtedly the flavored butter. I’ve experimented with countless variations over the years, but this version strikes the perfect balance of richness, acidity, and heat.
To prepare the sauce:
- Melt the butter in a small saucepan over medium-low heat.
- Add the minced garlic and sauté for 1-2 minutes until fragrant but not browned. (Browning the garlic can make it bitter.)
- Remove from heat and whisk in the lemon juice, lemon zest, salt, pepper, and red pepper flakes.
- If using, add the white wine and stir to combine.
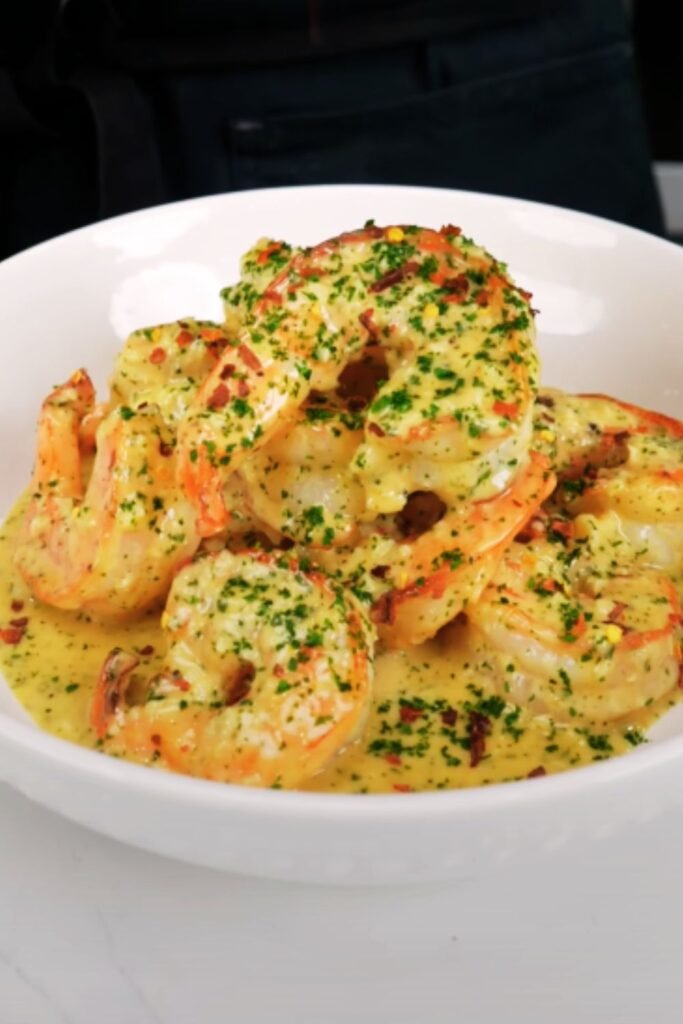
- Finally, stir in the chopped parsley, reserving a little for garnish.
The beauty of this sauce is its versatility. I’ve made it with different herb combinations based on what’s growing in my garden – sometimes adding thyme or dill for variety. The lemon provides essential brightness that cuts through the richness of the butter, while the garlic adds depth and warmth.
The red pepper flakes add a gentle heat that builds slowly as you eat, but you can adjust the amount based on your preference. For a family-friendly version, I sometimes reduce it to just a pinch, while for my spice-loving friends, I might double the amount.
The Baking Method
Baking shrimp might seem counterintuitive when most recipes call for quick sautéing, but trust me—this method is foolproof and creates the most tender, flavorful results.
Here’s how I do it:
- Preheat your oven to 375°F (190°C).
- Arrange the peeled and deveined shrimp in a single layer in your baking dish.
- Drizzle the olive oil over the shrimp and toss gently to coat.
- Pour the prepared butter sauce evenly over the shrimp, making sure each piece gets coated.
- Bake for 10-12 minutes, or until the shrimp are pink and just cooked through.
The exact cooking time will depend on the size of your shrimp and your oven’s peculiarities, so I always start checking at the 8-minute mark. The shrimp are done when they’ve turned from translucent gray to opaque pink and have just curled into a loose C-shape. If they’ve curled into a tight O-shape, they’re overcooked.
Remember: shrimp continue cooking slightly after you remove them from the oven due to residual heat, so it’s better to pull them out just before they’re completely done.
Serving Suggestions
I love the versatility of this dish—it can be dressed up for special occasions or kept casual for weeknight dinners. Here are my favorite ways to serve Buttery Baked Shrimp:
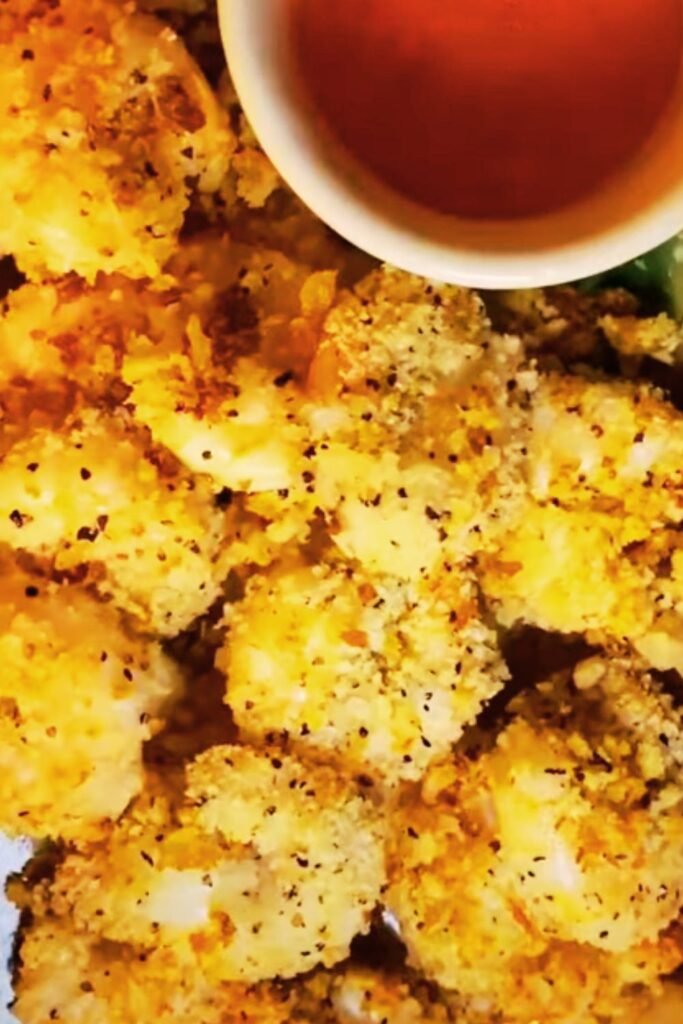
- As an appetizer: Transfer the shrimp to a serving platter, pour the butter sauce over them, and provide small plates and napkins. This is perfect for cocktail parties or as a starter before a main course.
- Over pasta: Toss with linguine or angel hair pasta for a quick and impressive dinner. The butter sauce becomes a delicious coating for the pasta.
- With crusty bread: Serve in the baking dish with plenty of crusty bread for soaking up that incredible butter sauce. I can’t emphasize enough how amazing this option is—the sauce is too good to waste!
- On a bed of rice: Spoon over white or brown rice, which will absorb all the flavorful juices.
- With a fresh salad: Balance the richness with a crisp green salad dressed simply with vinaigrette.
Regardless of how you serve it, be sure to finish the dish with:
- A sprinkle of additional fresh herbs
- Fresh lemon wedges for squeezing
- A light dusting of flaky sea salt
Make-Ahead Tips and Storage
While this dish is quick enough to prepare on a weeknight, there are several steps you can take in advance to make the cooking process even more streamlined:
- Prepare the shrimp: Peel and devein the shrimp up to 24 hours in advance. Store them covered in the refrigerator.
- Make the butter sauce: The sauce can be prepared up to 2 days ahead and stored in an airtight container in the refrigerator. Simply reheat gently before pouring over the shrimp.
- Prep the herbs and lemon: Chop herbs and zest/juice the lemon earlier in the day.
If you have leftovers (though I rarely do!), they can be stored in an airtight container in the refrigerator for up to 2 days. I prefer to gently reheat leftovers in a covered skillet over low heat rather than microwaving, which can make the shrimp tough.
Recipe Variations
One of the reasons I return to this recipe again and again is its adaptability. Here are some of my favorite variations:
Mediterranean Style
- Add 1/2 cup crumbled feta cheese before baking
- Include 1/4 cup chopped kalamata olives
- Use oregano and dill as your primary herbs
- Add 1 cup halved cherry tomatoes halfway through baking
Cajun Inspired
- Replace regular salt with Cajun seasoning
- Increase red pepper flakes to 2 teaspoons
- Add 1/2 teaspoon smoked paprika
- Garnish with chopped green onions
Asian Fusion
- Replace half the butter with toasted sesame oil
- Add 1 tablespoon grated ginger along with the garlic
- Substitute soy sauce for salt
- Finish with chopped cilantro and a squeeze of lime instead of lemon
Nutritional Information
For those who like to keep track of their nutritional intake, here’s a breakdown of the approximate values per serving (assuming 4 servings):
| Nutrient | Amount per Serving |
|---|---|
| Calories | 410 |
| Protein | 28g |
| Fat | 31g |
| Saturated Fat | 16g |
| Carbohydrates | 4g |
| Fiber | 0.5g |
| Sugar | 0.5g |
| Sodium | 890mg |
| Cholesterol | 285mg |
It’s worth noting that this is a rich dish, so I often serve it with lighter sides like steamed vegetables or a crisp salad to balance the meal.
Common Questions & Troubleshooting
Over the years, I’ve received many questions about this recipe. Here are the most common ones, along with my answers:
Q: Can I use frozen shrimp?
Absolutely! In fact, I often do. Just make sure to thaw them completely first. I place mine in a colander under cold running water for about 5-7 minutes, then pat them dry with paper towels before proceeding with the recipe.
Q: My shrimp turned out rubbery. What went wrong?
The most common cause of rubbery shrimp is overcooking. Remember that shrimp cook very quickly and continue to cook after you remove them from the heat. Try reducing your baking time by 2-3 minutes next time.
Q: Can I make this recipe without alcohol?
Yes! The white wine adds a subtle depth of flavor but isn’t essential. Simply omit it and add an extra tablespoon of lemon juice for acidity.
Q: Is there a dairy-free version?
While butter is central to this recipe, you can substitute with a good quality dairy-free butter alternative. The flavor won’t be identical, but it will still be delicious. You might want to add a touch more salt and perhaps a pinch of nutritional yeast for that savory richness.
Q: Can I use different herbs?
Absolutely! This recipe is incredibly versatile. Use whatever fresh herbs you have on hand or prefer. Dill, basil, thyme, and chives all work beautifully.
The Perfect Shrimp Cooking Chart
If you’re adapting this recipe for different sizes of shrimp, here’s a handy baking time chart I’ve developed through much trial and error:
| Shrimp Size | Count per Pound | Baking Time at 375°F |
|---|---|---|
| Colossal | 10-15 | 12-14 minutes |
| Jumbo | 16-20 | 10-12 minutes |
| Large | 21-30 | 8-10 minutes |
| Medium | 31-40 | 6-8 minutes |
| Small | 41-50 | 5-6 minutes |
Remember that these times are guidelines. The exact cooking time will depend on your oven and the thickness of the shrimp. Always look for visual cues: opaque pink flesh and a loose C-shape curl.
Why This Recipe Works
After years of making this dish, I’ve identified the key factors that make it so consistently successful:
- The two-fat approach: Using both butter and olive oil gives you the best of both worlds—butter for flavor and olive oil to raise the smoke point and prevent burning.
- Minimal handling: Shrimp are delicate, and the less you manipulate them, the better their texture will be.
- The perfect temperature: 375°F provides enough heat to cook the shrimp quickly without toughening them.
- The protective sauce: The butter mixture essentially poaches the shrimp while they bake, keeping them moist and infusing them with flavor.
- Tail-on cooking: Even if you plan to remove the tails before serving, cooking with them on adds flavor, similar to how meat on the bone has more depth.
What started as a simple weeknight dinner has become one of my signature dishes, requested by friends and family whenever I host. There’s something deeply satisfying about creating such an impressive meal with so little effort, and I hope this recipe brings the same joy to your table.
Final Thoughts
My journey with this Buttery Baked Shrimp recipe has taught me that sometimes the simplest dishes are the most memorable. When you start with quality ingredients and treat them with respect, magic happens in the kitchen.
Whether you’re cooking for a special occasion or simply treating yourself to a luxurious weeknight dinner, this dish delivers every time. The combination of tender shrimp, aromatic garlic, bright lemon, and rich butter creates a symphony of flavors that’s greater than the sum of its parts.
I encourage you to make this recipe your own. Experiment with different herbs, adjust the spice level, or try one of the variations I’ve suggested. Cooking should be a creative expression, and this versatile dish provides the perfect canvas.
As with all seafood dishes, the key is not to overthink it. Trust your instincts, keep a close eye on the baking time, and you’ll be rewarded with perfectly cooked shrimp that will have everyone at your table reaching for seconds.
Happy cooking!
Q&A Section
Q: What size of baking dish works best for this recipe?
A 9×13 inch baking dish is ideal for 2 pounds of shrimp. It allows them to be arranged in a single layer, which ensures even cooking. If you’re making a smaller batch, use a correspondingly smaller dish so the butter sauce remains deep enough to partially submerge the shrimp.
Q: Can I make this recipe in advance for a party?
While it’s best freshly made, you can prep everything in advance and bake just before serving. Another option is to fully cook it up to 30 minutes before serving and keep it covered at room temperature. The residual heat from the butter sauce will keep the shrimp warm without continuing to cook them too much.
Q: What side dishes pair well with this recipe?
My favorite sides include crusty bread, steamed asparagus, risotto, or a simple green salad. For a heartier meal, serve over pasta or with roasted potatoes. The key is choosing sides that complement rather than compete with the rich, garlicky butter sauce.
Q: Is there a way to make this recipe healthier?
Yes, you can reduce the butter by half and increase the olive oil. Alternatively, use clarified butter (ghee), which has less lactose and casein than regular butter. You can also increase the herbs and garlic for more flavor while using less fat overall.
Q: How can I tell when the shrimp are perfectly cooked?
Perfectly cooked shrimp are pink with red tails and have just curled into a loose C-shape. If they’ve curled into a tight O-shape, they’re overcooked. The flesh should be opaque but still juicy when cut. When in doubt, it’s better to slightly undercook as they’ll continue cooking briefly after being removed from the oven.