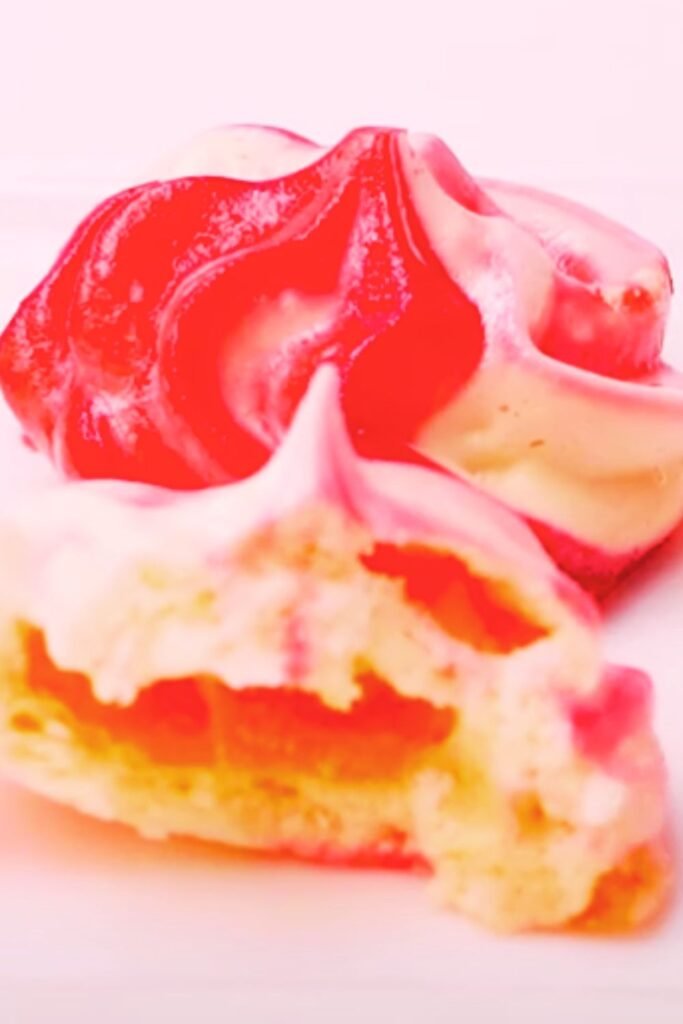
When I first encountered the concept of Big Blue Monster Stuffed Cookies, I knew I had stumbled upon something truly magical. These aren’t your ordinary cookies – they’re edible works of art that bring joy to both children and adults alike. The vibrant blue color, combined with the surprise filling and playful monster aesthetic, makes these cookies perfect for birthday parties, Halloween celebrations, or simply when you want to add a touch of whimsy to your baking repertoire.
What sets these cookies apart from traditional stuffed cookies is their bold appearance and creative presentation. The “monster” aspect comes from the way we shape and decorate them, often adding candy eyes, creating jagged edges, or incorporating fun textures that give each cookie its own personality. I’ve been perfecting this recipe for years, and I’m excited to share everything I’ve learned about creating these delightful treats.
Understanding the Anatomy of Big Blue Monster Stuffed Cookies
Before diving into the recipe, let me explain what makes these cookies so special and define some key terms you’ll encounter throughout this guide.
Stuffed Cookies : Cookies that contain a filling or surprise center, typically achieved by wrapping cookie dough around various ingredients like chocolate chips, caramel, cream cheese, or other sweet fillings.
Blue Food Coloring : The key ingredient that gives our monster cookies their distinctive appearance. I prefer gel food coloring over liquid as it provides more vibrant color without affecting the dough’s consistency.
Monster Aesthetic : The playful, slightly imperfect appearance that makes each cookie look like a friendly monster. This includes irregular shapes, textured surfaces, and creative decorations.
Dough Consistency : The proper texture of cookie dough that allows for easy handling while maintaining structural integrity when shaped around fillings.
The beauty of these cookies lies in their versatility. While the base recipe remains consistent, you can customize the filling, adjust the blue intensity, and modify the decorations to create endless variations. I’ve made versions with cream cheese centers, chocolate ganache fillings, and even surprise fruit centers – each one bringing its own unique character to the monster theme.
Essential Ingredients and Their Roles
Creating the perfect Big Blue Monster Stuffed Cookies requires understanding how each ingredient contributes to the final result. Here’s my comprehensive breakdown of what you’ll need and why each component matters.
| Ingredient | Quantity | Primary Function | Quality Tips |
|---|---|---|---|
| All-purpose flour | 2¾ cups | Structure and texture | Use fresh flour, sift for best results |
| Unsalted butter | 1 cup (softened) | Flavor and tenderness | Room temperature for proper creaming |
| Granulated sugar | ¾ cup | Sweetness and structure | Creates crispy edges when creamed with butter |
| Brown sugar | ¾ cup (packed) | Moisture and chewiness | Dark brown sugar adds more molasses flavor |
| Large eggs | 2 whole | Binding and richness | Room temperature mixes more easily |
| Vanilla extract | 2 teaspoons | Flavor enhancement | Pure vanilla gives best results |
| Baking soda | 1 teaspoon | Leavening agent | Check expiration date for maximum effectiveness |
| Salt | 1 teaspoon | Flavor balance | Enhances sweetness and balances flavors |
| Blue gel food coloring | 1-2 teaspoons | Signature color | Start with less, add gradually |
| Filling of choice | 2 cups | Surprise center | Chocolate chips, caramel, cream cheese |

The filling options are where you can really get creative. I’ve experimented with numerous combinations over the years, and some of my favorites include:
- Classic chocolate chip centers: Mini chocolate chips mixed with a touch of cream cheese
- Caramel surprise: Soft caramel candies that create a gooey center
- Cream cheese filling: Sweetened cream cheese with vanilla extract
- Peanut butter centers: Creamy peanut butter mixed with powdered sugar
- Fruity fillings: Jam or preserves for a unexpected twist
Step-by-Step Preparation Method
Creating these monster cookies requires patience and attention to detail, but the process is incredibly rewarding. I’ve refined this method through countless batches, and following these steps will ensure your success.
Preparing Your Workspace
Before beginning, I always recommend setting up your workspace properly. This includes:
- Preheating your oven to 375°F (190°C)
- Lining baking sheets with parchment paper
- Gathering all ingredients and measuring them accurately
- Having your chosen filling prepared and ready
- Setting out cookie scoops or spoons for shaping
Mixing the Dough
The key to perfect monster cookies starts with proper dough preparation. I begin by creaming the softened butter with both sugars until the mixture becomes light and fluffy – this usually takes about 3-4 minutes with an electric mixer. The creaming process incorporates air into the mixture, which contributes to the cookie’s final texture.
Next, I add the eggs one at a time, ensuring each is fully incorporated before adding the next. The vanilla extract goes in with the second egg. This is when I gradually add the blue food coloring, starting with just a few drops and adding more until I achieve the desired monster-blue shade. Remember, the color will be more vibrant after baking, so don’t go overboard initially.
In a separate bowl, I whisk together the flour, baking soda, and salt. This dry mixture gets added to the wet ingredients gradually, mixing just until combined. Overmixing can lead to tough cookies, so I stop as soon as I don’t see any flour streaks.
Shaping and Stuffing Technique
The stuffing process is where these cookies truly come to life. I use a generous tablespoon of dough, flatten it slightly in my palm, and place about a teaspoon of filling in the center. Then I take another tablespoon of dough, flatten it, and carefully seal it around the filling, pinching the edges to ensure no filling escapes during baking.
The “monster” shaping comes next. Instead of rolling the stuffed dough into perfect balls, I gently press and shape them to create slightly irregular forms. Some I make more elongated, others I keep rounder but with textured surfaces. This imperfection is what gives each cookie its unique monster personality.
Baking Process and Timing
I space the shaped cookies about 2 inches apart on the prepared baking sheets – they will spread during baking. The key to perfect texture is baking them for exactly 9-11 minutes, depending on your oven. I look for edges that are just set but centers that still appear slightly soft. They’ll continue cooking on the hot pan even after removal from the oven.
Decorating Your Monster Cookies
The decoration phase is where creativity truly shines. Once the cookies have cooled completely, I transform them into proper monsters using various techniques and ingredients.
| Decoration Element | Materials Needed | Application Method | Creative Variations |
|---|---|---|---|
| Monster Eyes | Candy eyes, white chocolate chips | Melted chocolate as “glue” | Different sizes for personality |
| Textured Surfaces | Fork, knife, toothpick | Press patterns while dough is soft | Scales, fur, rough skin |
| Colorful Accents | Colored icing, sprinkles | Piping bags or squeeze bottles | Spots, stripes, swirls |
| Monster Mouths | Black icing, mini marshmallows | Small piping tip or toothpick | Scary, friendly, surprised |
I’ve found that the most successful monster cookies have at least two or three decorative elements. Perhaps candy eyes with a textured surface, or a piped mouth with colorful accent spots. The key is maintaining the playful, slightly imperfect aesthetic that makes each cookie feel alive with personality.

Nutritional Information and Dietary Considerations
Understanding the nutritional content of these treats helps with portion planning and dietary considerations. Here’s my detailed breakdown per cookie (assuming the recipe makes 24 cookies):
| Nutrient | Amount per Cookie | Daily Value % | Notes |
|---|---|---|---|
| Calories | 285 | 14% | Varies with filling choice |
| Total Fat | 12g | 15% | Primarily from butter |
| Saturated Fat | 7g | 35% | Can be reduced with substitutions |
| Cholesterol | 45mg | 15% | From eggs and butter |
| Sodium | 220mg | 10% | From salt and baking soda |
| Total Carbohydrates | 42g | 15% | From flour and sugars |
| Dietary Fiber | 1g | 4% | Minimal in refined flour |
| Sugars | 28g | 56% | From added sugars and filling |
| Protein | 4g | 8% | From flour and eggs |
For those with dietary restrictions, I’ve successfully created modified versions:
- Gluten-free: Substitute with gluten-free flour blend (add 1 extra tablespoon)
- Dairy-free: Use vegan butter substitute and dairy-free chocolate chips
- Lower sugar: Reduce both sugars by 25% and add extra vanilla extract
- Egg-free: Use commercial egg replacer or ground flaxseed mixture
Storage and Serving Suggestions
Proper storage ensures your Big Blue Monster Stuffed Cookies maintain their optimal taste and texture. I store completely cooled cookies in airtight containers at room temperature for up to one week. For longer storage, they freeze beautifully for up to three months when wrapped individually and stored in freezer bags.
When serving these cookies, presentation matters. I like to arrange them on colorful plates or in fun containers that complement their playful nature. For parties, I sometimes create a “monster cookie habitat” using green coconut shavings as grass and small toy accessories.
These cookies pair wonderfully with:
- Cold milk (classic choice)
- Hot chocolate with marshmallows
- Vanilla ice cream for an indulgent dessert
- Fresh fruit for balance
- Coffee or tea for adult enjoyment
Troubleshooting Common Issues
Through years of making these cookies, I’ve encountered and solved numerous challenges. Here are the most common issues and my proven solutions:
Filling Leaks During Baking : Ensure proper sealing of dough edges and avoid overfilling. If filling still leaks, reduce the amount by half and try again.
Color Too Light or Uneven : Add food coloring gradually during mixing phase. Gel coloring works better than liquid for intensity without affecting dough consistency.
Cookies Spread Too Much : Chill shaped cookies for 30 minutes before baking, or reduce butter slightly in next batch.
Tough or Dense Texture : Avoid overmixing dough once flour is added. Mix just until ingredients are combined.
Decorations Won’t Stick : Ensure cookies are completely cool before decorating. Use small amounts of melted chocolate or icing as “glue” for heavier decorations.
Creative Variations and Seasonal Adaptations
The basic Big Blue Monster recipe serves as an excellent foundation for seasonal variations. During Halloween, I transform them into spooky blue monsters with orange accent decorations. For winter holidays, I add white “snow” sprinkles and create friendly winter monsters.
Spring versions might include pastel accent colors and flower decorations, while summer monsters could feature tropical-themed fillings like coconut or pineapple. The adaptability of this recipe makes it perfect for any occasion throughout the year.
Some of my most popular variations include:
- Galaxy monsters: Dark blue base with edible glitter and star decorations
- Ocean monsters: Blue-green gradient coloring with “seaweed” piped decorations
- Gentle giants: Larger cookies with friendly faces and softer decorations
- Mini monsters: Bite-sized versions perfect for parties
Questions and Answers
Q. How long do Big Blue Monster Stuffed Cookies stay fresh? When stored properly in airtight containers at room temperature, these cookies maintain their best quality for up to one week. The stuffed center actually helps keep them moist longer than regular cookies. For maximum freshness, I recommend storing them with a slice of bread, which helps maintain moisture levels.
Q. Can I make the dough ahead of time? Absolutely! The cookie dough can be prepared up to 2 days in advance and stored covered in the refrigerator. In fact, chilled dough often handles better when shaping around fillings. Just let it come to room temperature for about 15 minutes before shaping for easier handling.
Q. What’s the best filling for beginners? I always recommend starting with mini chocolate chips mixed with a small amount of cream cheese. This combination is forgiving, doesn’t leak easily, and appeals to most taste preferences. Once you’re comfortable with the technique, you can experiment with more complex fillings.
Q. Why do my cookies come out flat instead of puffy? Flat cookies usually result from warm dough or old baking soda. Make sure your butter isn’t too soft (it should hold its shape but yield to gentle pressure), and check that your baking soda is fresh. Chilling the shaped cookies for 30 minutes before baking can also help maintain their shape.
Q. How can I make the blue color more vibrant? Gel food coloring provides much more intense color than liquid versions without affecting the dough’s consistency. Start with a small amount and gradually add more until you achieve your desired shade. Remember that the color often appears more vibrant after baking.
Q. Can I use this recipe to make other colored monster cookies? Definitely! This base recipe works wonderfully with any food coloring. I’ve made green, purple, orange, and even black monster cookies using the same technique. Just adjust the coloring amount based on the intensity you want to achieve.
Q. What should I do if the filling hardens too much during baking? Some fillings, particularly those containing chocolate or caramel, may firm up during cooling. This is normal and actually helps maintain the cookie’s structure. If you prefer a softer center, try reducing the baking time by 1-2 minutes or choosing fillings that remain soft at room temperature.
Q. How do I prevent the decorations from falling off? The key is using edible “glue” like melted chocolate, thick royal icing, or even a small dab of frosting to attach heavier decorations. Make sure cookies are completely cool before decorating, and allow adhesive to set before handling or storing.
Creating Big Blue Monster Stuffed Cookies has become one of my favorite baking adventures. These whimsical treats never fail to bring smiles and spark conversations. The combination of surprise fillings, vibrant color, and creative decorating possibilities makes each batch an opportunity for edible artistry.
Whether you’re baking for a special occasion or simply want to add some fun to your kitchen routine, these monster cookies deliver both visual impact and delicious taste. The technique might seem complex at first, but with practice, you’ll find yourself creating these delightful creatures with confidence and creativity.
Remember, the most important ingredient in any Big Blue Monster Stuffed Cookie is the joy you put into making them. Embrace the imperfections, celebrate the unique personality of each cookie, and most importantly, have fun with the process. Happy baking!