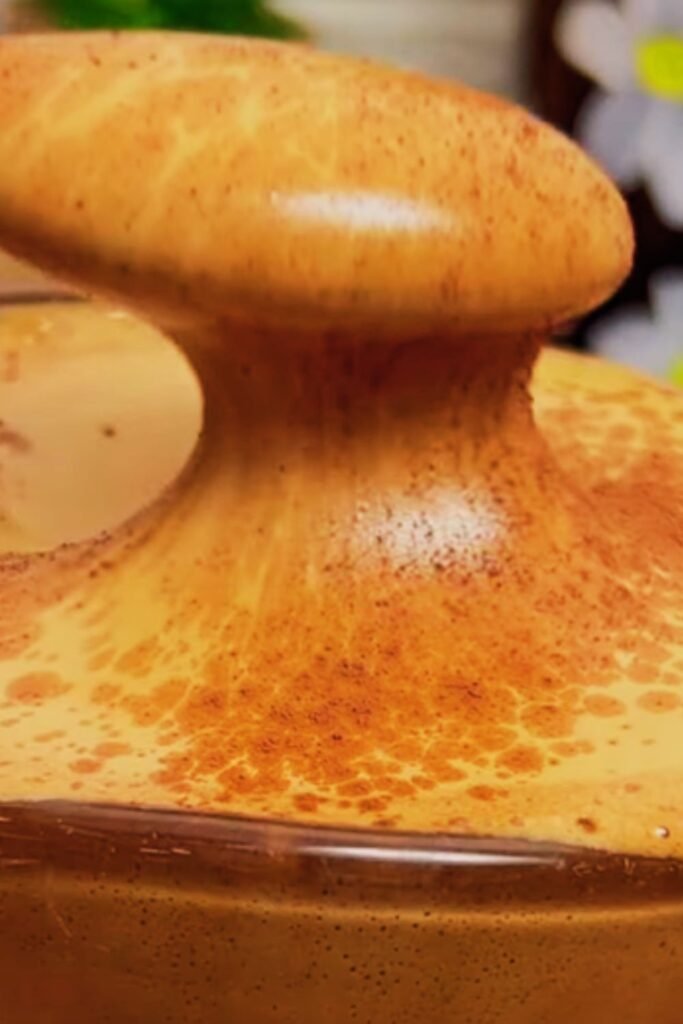
There’s something magical about transforming simple ingredients into an elegant dessert that looks like it came from a fancy restaurant. I’ve been making coffee mousse for years, and I can tell you with confidence that this is one of those desserts that never fails to impress. The silky texture, rich coffee flavor, and airy lightness create a perfect harmony that makes every spoonful a delightful experience.
Coffee mousse holds a special place in my heart because it combines two of my favorite things: coffee and dessert. Unlike heavy cakes or overly sweet treats, this mousse offers a sophisticated balance that appeals to both casual dessert lovers and discerning palates. The best part? It’s surprisingly easy to make, despite its elegant appearance.
What Makes Coffee Mousse Special
Coffee mousse stands out from other desserts because of its unique texture and flavor profile. The combination of strong coffee, creamy elements, and airy incorporation creates a dessert that’s both indulgent and light. I’ve served this to guests who typically don’t enjoy coffee-flavored desserts, and they’ve been converted every single time.
The beauty of coffee mousse lies in its versatility. You can adjust the coffee intensity to suit different preferences, add complementary flavors like chocolate or vanilla, and present it in various ways depending on the occasion. Whether you’re hosting a dinner party or simply treating yourself to something special, coffee mousse delivers every time.
Key Terms:
Mousse : A light, airy dessert made by incorporating air through whipping and folding techniques
Espresso : Concentrated coffee brewed by forcing hot water through finely ground coffee beans
Gelatin : A protein derived from collagen that helps set and stabilize the mousse structure
Folding : A gentle mixing technique used to combine ingredients without deflating air bubbles
Essential Ingredients for Perfect Coffee Mousse
Creating exceptional coffee mousse starts with selecting the right ingredients. I’ve experimented with various combinations over the years, and I’ve found that quality ingredients make a significant difference in the final result.
Coffee Component
The coffee element forms the backbone of your mousse. I prefer using strong espresso or concentrated coffee because it provides the intense flavor needed to shine through the creamy base. Here’s what I recommend:
- Freshly brewed espresso: 1/2 cup of strong, hot espresso
- Instant coffee alternative: 2 tablespoons of high-quality instant coffee dissolved in 1/4 cup hot water
- Cold brew concentrate: 1/3 cup of cold brew concentrate for a smoother flavor profile
Cream and Dairy Elements
The creamy foundation requires careful selection to achieve the perfect texture:
- Heavy whipping cream: 1 1/2 cups (must be at least 35% fat content)
- Cream cheese: 4 ounces, softened to room temperature
- Eggs: 3 large eggs, separated (room temperature works best)
Sweetening and Stabilizing Agents
- Granulated sugar: 1/2 cup, divided
- Unflavored gelatin: 1 packet (2 1/4 teaspoons)
- Vanilla extract: 1 teaspoon for depth of flavor
Detailed Coffee Mousse Recipe
Preparation Phase
Before I start making the mousse, I always prepare my workspace and ingredients. This dessert requires precise timing, so having everything ready makes the process much smoother.
- Prepare the coffee: Brew your espresso or prepare your coffee concentrate. Let it cool to room temperature.
- Soften gelatin: Sprinkle gelatin over 2 tablespoons of cold water in a small bowl. Let it bloom for 5 minutes.
- Bring ingredients to room temperature: Remove eggs and cream cheese from the refrigerator 30 minutes before starting.
Step-by-Step Instructions
Step 1: Create the Coffee Base
I begin by dissolving the bloomed gelatin in the warm coffee. This step is crucial for achieving the right consistency. Heat 2 tablespoons of your prepared coffee and stir in the softened gelatin until completely dissolved. Mix this back into the remaining coffee and set aside to cool.
Step 2: Prepare the Cream Cheese Mixture
Beat the softened cream cheese with 1/4 cup of sugar until smooth and fluffy. This usually takes about 3 minutes with an electric mixer. The mixture should be completely smooth without any lumps.
Step 3: Incorporate the Coffee
Gradually add the cooled coffee mixture to the cream cheese, beating continuously. The mixture might look slightly curdled at first, but continue beating until it becomes smooth and well combined.
Step 4: Whip the Cream
In a separate bowl, whip the heavy cream until soft peaks form. Be careful not to overwhip, as this can make the mousse grainy. The cream should hold its shape but still be smooth and glossy.
Step 5: Prepare the Egg Whites
Beat the egg whites until foamy, then gradually add the remaining 1/4 cup of sugar. Continue beating until stiff, glossy peaks form. This process usually takes 4-5 minutes.
Step 6: Fold Everything Together
This is where the magic happens. First, fold 1/3 of the whipped cream into the coffee mixture to lighten it. Then, gently fold in the remaining cream, followed by the beaten egg whites. Use a rubber spatula and fold from the bottom up, being careful not to deflate the mixture.
Nutritional Information and Serving Details
Understanding the nutritional content helps you make informed decisions about portion sizes and dietary considerations.
| Nutrient | Per Serving (1/6 recipe) | Daily Value % |
|---|---|---|
| Calories | 285 | 14% |
| Total Fat | 22g | 28% |
| Saturated Fat | 13g | 65% |
| Cholesterol | 145mg | 48% |
| Sodium | 95mg | 4% |
| Total Carbohydrates | 18g | 7% |
| Sugars | 17g | – |
| Protein | 6g | 12% |
| Caffeine | 45mg | – |
Variations and Flavor Combinations
Over the years, I’ve developed several variations that add exciting twists to the classic coffee mousse. These modifications allow you to customize the dessert for different occasions and preferences.
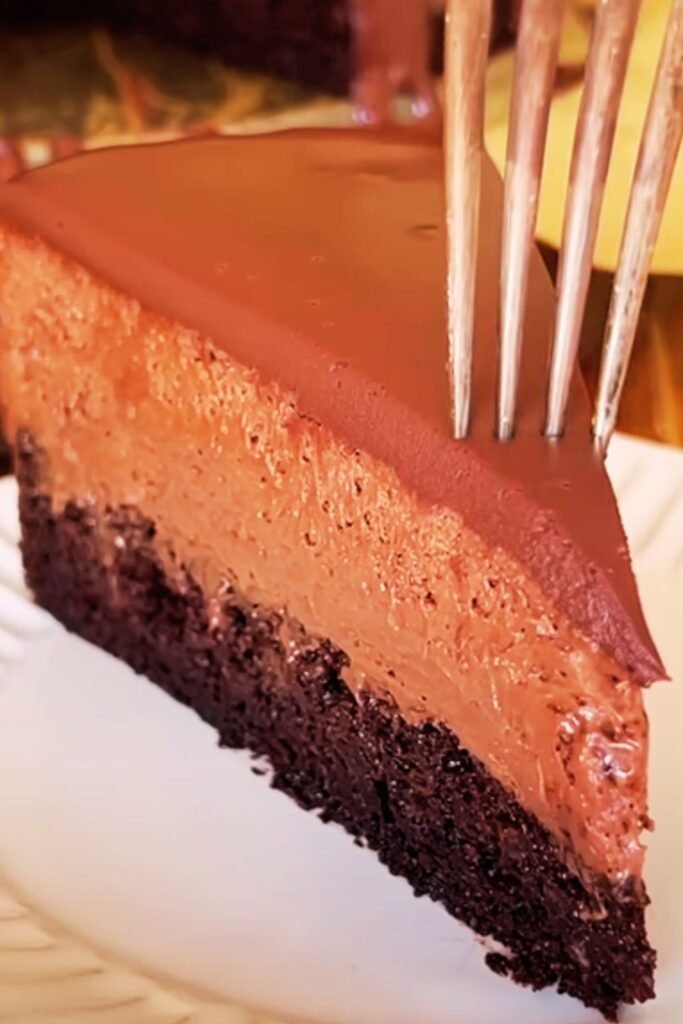
Chocolate Coffee Mousse
Adding chocolate creates a mocha-like experience that’s absolutely divine. I melt 2 ounces of dark chocolate and fold it into the coffee mixture before combining with the cream. The result is a richer, more decadent mousse that chocolate lovers adore.
Vanilla Coffee Mousse
For those who prefer a milder coffee flavor, I increase the vanilla extract to 2 teaspoons and reduce the coffee slightly. This creates a more balanced flavor profile that appeals to a broader audience.
Spiced Coffee Mousse
Adding warm spices transforms the mousse into a cozy, autumn-inspired treat. I incorporate 1/4 teaspoon of cinnamon, a pinch of nutmeg, and a dash of cardamom into the coffee mixture.
Technical Tips for Success
Temperature Control
Temperature plays a crucial role in achieving the perfect mousse texture. I’ve learned that working with ingredients at the right temperature prevents curdling and ensures smooth incorporation.
- Coffee: Should be warm when dissolving gelatin, then cooled to room temperature
- Cream cheese: Must be completely softened to prevent lumps
- Eggs: Room temperature eggs whip better and incorporate more easily
Timing Considerations
The timing of each step affects the final result. I recommend following this timeline:
| Step | Time Required | Key Points |
|---|---|---|
| Prep work | 15 minutes | Soften ingredients, bloom gelatin |
| Coffee base | 10 minutes | Dissolve gelatin, cool mixture |
| Cream cheese mixing | 5 minutes | Beat until completely smooth |
| Cream whipping | 3-4 minutes | Stop at soft peaks |
| Egg white whipping | 4-5 minutes | Achieve stiff, glossy peaks |
| Folding | 5-7 minutes | Work gently to maintain air |
| Chilling | 4+ hours | Allow proper setting |
Common Troubleshooting
I’ve encountered various issues over the years, and I’ve learned how to address them:
Grainy texture: Usually caused by overwhipping cream or egg whites. Start over with fresh cream if this happens.
Mixture won’t set: Often due to gelatin not dissolving properly or not chilling long enough. Ensure gelatin is completely dissolved and chill for at least 4 hours.
Lumpy appearance: Results from cream cheese not being properly softened or ingredients at different temperatures.
Presentation and Serving Suggestions
The way you present coffee mousse can elevate it from a simple dessert to an impressive finale for any meal. I’ve developed several presentation techniques that never fail to impress guests.
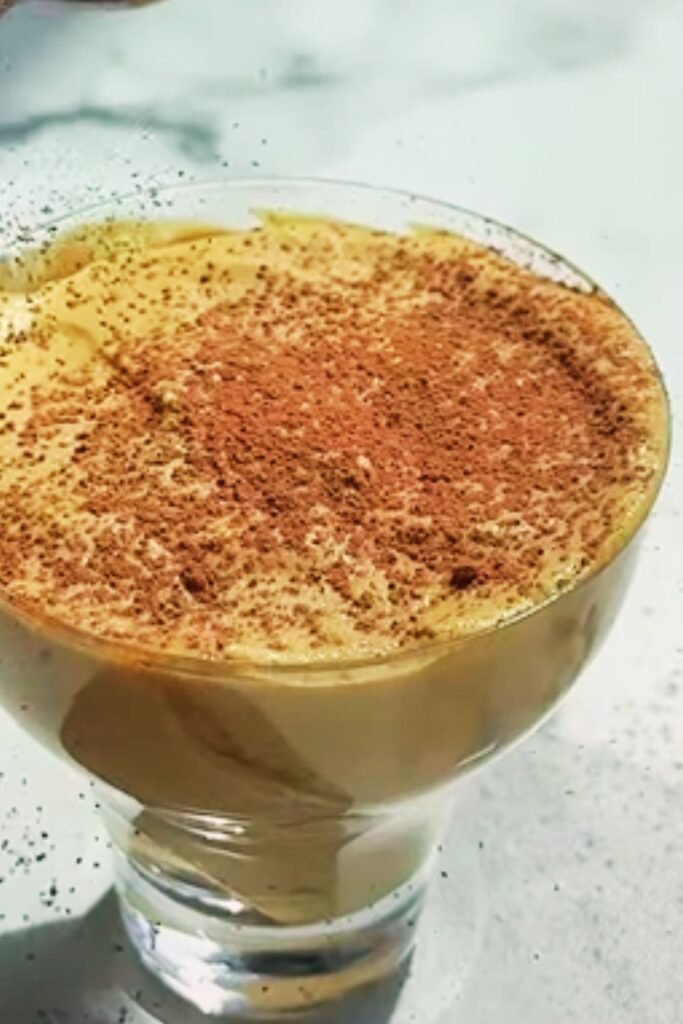
Individual Servings
I prefer serving coffee mousse in individual glasses or ramekins. This creates an elegant presentation and makes portion control easier. Clear glasses showcase the mousse’s beautiful color and texture, while ceramic ramekins offer a more rustic, homey feel.
Garnishing Options
The right garnish can transform your mousse from good to extraordinary:
- Whipped cream rosettes: Pipe small rosettes on top for classic elegance
- Coffee bean decoration: Place 3-4 coffee beans on top for thematic appeal
- Chocolate shavings: Use a vegetable peeler on dark chocolate for sophisticated curls
- Cocoa dust: A light dusting through a fine-mesh sieve adds professional polish
- Chopped nuts: Toasted almonds or hazelnuts provide textural contrast
Accompaniment Suggestions
While coffee mousse is delicious on its own, certain accompaniments enhance the experience:
- Crispy cookies: Biscotti or shortbread provide textural contrast
- Fresh berries: Raspberries or strawberries add bright acidity
- Caramel sauce: A drizzle of homemade caramel complements the coffee flavor
- Chocolate wafers: Thin chocolate cookies make elegant dippers
Storage and Make-Ahead Tips
One of the best aspects of coffee mousse is its make-ahead friendly nature. I often prepare it the day before entertaining, which reduces stress and allows flavors to develop fully.
Proper Storage Methods
Coffee mousse keeps well in the refrigerator for up to 3 days when properly stored. I cover individual servings with plastic wrap, ensuring the wrap doesn’t touch the mousse surface to prevent skin formation.
Freezing Guidelines
While I don’t typically recommend freezing mousse due to texture changes, it can be done in a pinch. Frozen mousse becomes denser but remains edible for up to 1 month. Thaw slowly in the refrigerator overnight before serving.
Texture Maintenance
To maintain the best texture:
- Always keep refrigerated until serving
- Avoid temperature fluctuations
- Serve within 2 hours of removing from refrigerator
- Don’t refreeze previously frozen mousse
Dietary Modifications and Alternatives
I understand that dietary restrictions shouldn’t prevent anyone from enjoying delicious desserts. I’ve developed several modifications that accommodate different dietary needs without compromising flavor.
Reduced Sugar Version
For those watching sugar intake, I substitute half the sugar with a sugar alternative like erythritol or stevia. The texture remains similar, though the sweetness profile changes slightly.
Dairy-Free Adaptation
Creating a dairy-free version requires some creativity, but it’s definitely possible:
- Replace heavy cream with coconut cream (chilled overnight)
- Substitute cream cheese with cashew cream cheese
- Use aquafaba (chickpea liquid) instead of egg whites
Decaffeinated Option
For those sensitive to caffeine, decaffeinated espresso works perfectly. The flavor remains robust while eliminating the stimulant effect.
Seasonal Adaptations
I love adapting this recipe to celebrate different seasons and occasions. Each variation brings its own charm and allows you to customize the dessert for specific events.
Holiday Versions
Winter: Add peppermint extract and crushed candy canes for a festive twist Spring: Incorporate lemon zest for brightness Summer: Fold in fresh mint leaves for cooling effect Fall: Include pumpkin spice blend for autumn warmth
Special Occasion Modifications
For elegant dinner parties, I sometimes layer the mousse with chocolate ganache or fruit compotes. For casual gatherings, I might serve it in mason jars with fun straws for a more relaxed vibe.
Questions and Answers
Q: How long does coffee mousse need to set in the refrigerator?
I recommend chilling coffee mousse for at least 4 hours, but overnight is even better. The gelatin needs time to fully set, and the flavors meld beautifully during the extended chilling period. I’ve found that mousse chilled for 8 hours has the perfect texture and most developed flavor.
Q: Can I make coffee mousse without gelatin?
Yes, you can make mousse without gelatin, but the texture will be softer and less stable. The mousse will still be delicious but may not hold its shape as well. If you choose to omit gelatin, serve the mousse immediately after preparation and expect a more pudding-like consistency.
Q: What’s the best type of coffee to use for the strongest flavor?
I prefer using dark roast espresso for the most intense coffee flavor. French roast or Italian roast work excellently too. The key is using a strong, concentrated coffee that won’t be diluted by the other ingredients. Cold brew concentrate is another excellent option that provides smooth, rich coffee flavor without bitterness.
Q: Why did my mousse turn out grainy?
Graininess usually results from overwhipping the cream or egg whites, or from temperature issues. Make sure your cream cheese is completely softened and at room temperature. Also, ensure you’re folding gently rather than stirring vigorously, which can break down the air bubbles that give mousse its light texture.
Q: Can I use instant coffee instead of espresso?
Absolutely! I use high-quality instant coffee when I don’t have fresh espresso available. Use 2-3 tablespoons of instant coffee dissolved in 1/4 cup of hot water. Let it cool to room temperature before incorporating into the recipe. The flavor will be slightly different but still delicious.
Q: How can I tell if my egg whites are whipped properly?
Properly whipped egg whites should form stiff, glossy peaks that hold their shape when you lift the beaters. The mixture should look smooth and shiny, not grainy or separated. If you can turn the bowl upside down without the egg whites falling out, they’re ready. Don’t overbeat, as this can cause them to become grainy and separate.
Q: Is it safe to use raw eggs in mousse?
While traditional mousse recipes use raw eggs, you can pasteurize them for safety. Heat the egg yolks with a small amount of the coffee mixture to 160°F (71°C), stirring constantly, then cool before proceeding. For egg whites, you can use pasteurized egg whites from a carton, though the texture may be slightly different.
Q: What should I do if my mousse doesn’t set properly?
If your mousse remains too soft after chilling, the gelatin may not have dissolved completely or the ratios might be off. You can try chilling it longer, or gently reheat a small portion to dissolve any remaining gelatin, then fold it back into the mixture and chill again.
Q: Can I make this recipe ahead for a party?
Coffee mousse is perfect for entertaining because it’s best made ahead! I recommend preparing it 1-2 days before your event. The flavors actually improve with time, and having it ready eliminates last-minute stress. Just add garnishes right before serving to maintain their appearance.
Q: What’s the difference between mousse and pudding?
The main difference lies in texture and preparation method. Mousse is lighter and airier due to the incorporation of whipped cream and beaten egg whites. Pudding is denser and creamier, typically thickened with cornstarch or eggs cooked on the stovetop. Mousse has a more elegant, sophisticated texture that melts on your tongue.
Creating perfect coffee mousse is both an art and a science, but with practice and attention to detail, anyone can master this elegant dessert. The combination of rich coffee flavor, silky texture, and impressive presentation makes it a worthy addition to any dessert repertoire. Whether you’re treating yourself or impressing guests, this coffee mousse recipe delivers consistent, delicious results every time.