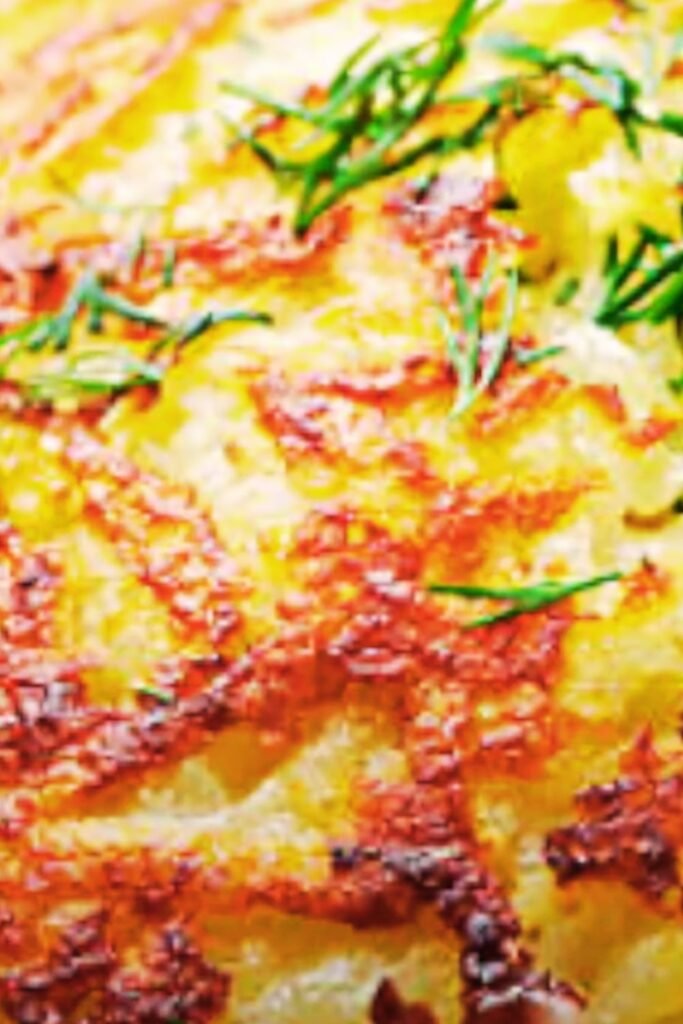
There’s something magical about the perfect hash brown – that golden, crispy exterior giving way to a fluffy, tender interior. I’ve spent years perfecting my technique, and I’m excited to share everything I’ve learned about creating restaurant-quality hash browns in your own kitchen.
Hash browns have become a breakfast staple across America, but achieving that perfect crispy texture at home can feel elusive. Through countless experiments and some spectacular failures, I’ve discovered the secrets that separate soggy disappointments from crispy perfection. Whether you’re planning a weekend brunch or want to elevate your everyday breakfast routine, mastering homemade hash browns will transform your morning meals.
Understanding Hash Browns: The Foundation
Hash Browns: Shredded or diced potatoes that are pan-fried until golden brown and crispy on the outside while remaining tender inside.
Russet Potatoes: The ideal variety for hash browns due to their high starch content and low moisture, which promotes better crisping.
Starch Content: The natural starches in potatoes that, when properly managed, create the binding and crisping effect essential for perfect hash browns.
Moisture Control: The critical process of removing excess water from potatoes to prevent steaming and ensure proper browning.
The science behind perfect hash browns lies in understanding potato composition. Potatoes contain both starch and moisture, and the key to success is manipulating these elements. High-starch potatoes like Russets work best because they have less moisture and more starch, which helps create that coveted crispy exterior.
Essential Ingredients and Equipment
Core Ingredients
The beauty of hash browns lies in their simplicity. You need surprisingly few ingredients to create something extraordinary:
Primary Ingredients:
- 2 pounds large Russet potatoes
- 1 teaspoon kosher salt (for seasoning)
- ½ teaspoon black pepper (freshly ground)
- 3-4 tablespoons vegetable oil or clarified butter
- Additional salt for the soaking water
Optional Flavor Enhancers:
- 1 small yellow onion (finely diced)
- 2 cloves garlic (minced)
- 1 teaspoon paprika
- ½ teaspoon garlic powder
- Fresh chives for garnish
Equipment Essentials
Having the right tools makes the difference between frustration and success:
- Large box grater or food processor with shredding disc
- Clean kitchen towels or paper towels
- Large mixing bowl
- Fine-mesh strainer
- Cast iron skillet or heavy-bottomed pan
- Thin metal spatula
- Large plate for pressing

The Science of Perfect Hash Browns
Understanding why certain techniques work helps you troubleshoot and achieve consistent results. The enemy of crispy hash browns is moisture – it creates steam, which prevents proper browning and leads to soggy results.
Russet potatoes contain about 80% water, which must be significantly reduced for proper crisping. The starch content, when exposed to heat and fat, undergoes the Maillard reaction – the same process that browns meat and creates complex flavors.
Temperature control is crucial. Too hot, and the exterior burns before the interior cooks. Too cool, and you’ll end up with greasy, limp potatoes. The sweet spot is medium-high heat, around 375°F if you’re using a thermometer.
Step-by-Step Preparation Method
Phase 1: Potato Preparation
Start by selecting the right potatoes. I always choose large, firm Russets without any green spots or soft areas. The larger the potato, the more efficient your prep work becomes.
Wash the potatoes thoroughly under cold running water, scrubbing away any dirt. I leave the skin on for added texture and nutrition, but you can peel them if you prefer. Using a box grater’s largest holes, shred the potatoes lengthwise. This creates longer strands that hold together better during cooking.
Immediately place the shredded potatoes in a large bowl of cold water. This prevents oxidation (browning) and begins the crucial moisture removal process.
Phase 2: The Critical Soaking and Rinsing
This step separates good hash browns from great ones. Soak the shredded potatoes in cold water for at least 30 minutes, but I prefer 45 minutes to an hour. The water should turn cloudy as the excess starch leaches out.
Drain the potatoes and rinse them under cold running water until the water runs clear. This removes surface starch that could create a gummy texture. You’ll be amazed at how much starch comes off – this is exactly what you want.
Phase 3: Moisture Removal Mastery
This is where many home cooks fail, but it’s the most important step. Place the rinsed potatoes in a clean kitchen towel and twist the ends to create a pouch. Squeeze firmly over the sink, wringing out as much water as possible.
I then spread the potatoes on paper towels and let them air dry for 10-15 minutes. Some people skip this step, but I’ve found it makes a noticeable difference in the final crispiness.

Phase 4: Seasoning and Flavoring
Transfer the dried potatoes to a clean bowl and season with salt and pepper. If you’re adding onions or garlic, now’s the time. Mix gently but thoroughly – you want even distribution without breaking up the potato strands.
Cooking Techniques for Maximum Crispiness
The Pan and Heat Setup
Preheat your cast iron skillet over medium-high heat for 3-4 minutes. Cast iron retains heat better than other materials, promoting even browning. Add the oil and swirl to coat the bottom evenly.
The oil should shimmer but not smoke. If it’s smoking, reduce the heat slightly. I test readiness by dropping in a small amount of potato – it should sizzle immediately.
The First Flip Technique
Add the seasoned potatoes to the hot pan, spreading them evenly without pressing down. Resist the urge to move them around. Let them cook undisturbed for 4-5 minutes until the bottom develops a golden crust.
Here’s my secret: place a large plate over the skillet and quickly flip the entire thing, so the hash browns land cooked-side up on the plate. Slide them back into the pan to cook the other side. This technique keeps the hash browns intact and ensures even cooking.
Alternative Cooking Methods
Oven Method: Spread seasoned potatoes on a preheated baking sheet at 450°F. Bake for 15 minutes, flip, and bake another 10-15 minutes.
Air Fryer Method: Cook at 380°F for 12-15 minutes, shaking the basket every 5 minutes.
Troubleshooting Common Problems
Problem: Soggy Hash Browns
Solution: Insufficient moisture removal or overcrowding the pan. Always dry thoroughly and cook in batches if necessary.
Problem: Uneven Browning
Solution: Inconsistent heat distribution or moving the potatoes too early. Let them develop a crust before flipping.
Problem: Hash Browns Fall Apart
Solution: Not enough starch binding or flipping too aggressively. Ensure proper soaking and use the plate-flip method.
Problem: Greasy Texture
Solution: Oil temperature too low or too much oil. Increase heat and use just enough oil to coat the pan.
Nutritional Information and Health Benefits
| Nutrient | Per 1 Cup Serving | % Daily Value |
|---|---|---|
| Calories | 265 | 13% |
| Carbohydrates | 35g | 12% |
| Protein | 4g | 8% |
| Fat | 12g | 18% |
| Fiber | 3g | 12% |
| Potassium | 620mg | 18% |
| Vitamin C | 12mg | 20% |
| Iron | 1.2mg | 7% |
Hash browns provide essential nutrients, particularly potassium for heart health and vitamin C for immune function. The resistant starch formed when potatoes cool slightly can benefit digestive health.
Creative Variations and Flavor Combinations
Classic Regional Styles
Southern Style: Add diced bell peppers and onions, season with cayenne and paprika.
Western Style: Include diced ham, bell peppers, and onions for a hearty variation.
Swiss Style (Rösti): Form into a large pancake and cook slower for a different texture.
International Inspirations
Mediterranean Hash: Add sun-dried tomatoes, olives, and herbs like oregano and thyme.
Mexican Style: Include jalapeños, cilantro, and a touch of cumin.
Indian Spiced: Incorporate turmeric, cumin, and coriander for an aromatic twist.
Serving Suggestions and Accompaniments

Hash browns pair beautifully with various breakfast items:
Classic American Breakfast: Serve alongside scrambled eggs, bacon, and toast for the traditional experience.
Healthy Options: Top with poached eggs and avocado slices for added nutrition and flavor.
Brunch Elegance: Create a hash brown nest and fill with sautéed vegetables or smoked salmon.
International Pairings: Serve with British-style baked beans or German sausages for global flair.
Storage and Reheating Tips
Proper Storage Methods
Cooked hash browns can be refrigerated for up to 3 days in an airtight container. For longer storage, freeze them for up to 3 months.
Reheating Techniques
Oven Method: Reheat at 400°F for 8-10 minutes until crispy again. Skillet Method: Reheat in a lightly oiled pan over medium heat for 3-4 minutes per side. Air Fryer: Reheat at 350°F for 3-5 minutes.
Never microwave hash browns if you want to maintain crispiness – the steam will make them soggy.
Advanced Tips from My Kitchen
After years of perfecting this recipe, here are my insider secrets:
The Ice Water Trick: Some days, I soak the potatoes in ice water for extra crispiness. The cold temperature helps maintain cell structure.
Double-Frying Method: For ultimate crispiness, I sometimes partially cook the hash browns, let them cool, then finish cooking just before serving.
Seasoning Timing: I add most seasonings after the first side cooks to prevent burning delicate spices.
The Rest Period: Letting cooked hash browns rest on a wire rack for 2-3 minutes before serving helps maintain crispiness.
Making Hash Browns Ahead of Time
For busy mornings or meal prep, you can prepare components in advance:
Day Before: Complete the soaking, rinsing, and drying process. Store seasoned potatoes in the refrigerator overnight.
Par-Cooking Method: Cook hash browns about 75% of the way, then finish them in the morning for fresh crispiness.
Freezing Raw: Prepared, seasoned potatoes can be frozen in portions for up to 2 months.
Comparison Table: Cooking Methods
| Method | Cook Time | Crispiness Level | Ease of Use | Best For |
|---|---|---|---|---|
| Stovetop | 8-10 min | Excellent | Moderate | Single servings |
| Oven | 25-30 min | Very Good | Easy | Large batches |
| Air Fryer | 12-15 min | Excellent | Easy | Small portions |
| Cast Iron | 10-12 min | Outstanding | Moderate | Traditional taste |
The Perfect Hash Brown Checklist
Before you start cooking, ensure you have:
- Properly dried potatoes (no visible moisture)
- Preheated pan with shimmering oil
- Seasonings ready and measured
- Patience for the first flip (4-5 minutes minimum)
- Clean plate for the flip technique
- Wire rack for resting (optional but recommended)
Questions and Answers
Q: Why do my hash browns always turn out soggy? The most common cause is insufficient moisture removal. Make sure you’re thoroughly drying the potatoes after rinsing, and don’t overcrowd the pan, which creates steam.
Q: Can I use other types of potatoes besides Russets? While Russets work best due to their high starch content, you can use Yukon Gold potatoes. Avoid waxy potatoes like red potatoes, as they don’t crisp as well.
Q: How do I know when the oil is the right temperature? The oil should shimmer but not smoke. Test with a small piece of potato – it should sizzle immediately upon contact.
Q: Can I make hash browns without oil? While oil helps with browning and prevents sticking, you can use a well-seasoned cast iron pan or non-stick surface with minimal oil. The results won’t be quite as crispy.
Q: Why do my hash browns stick to the pan? This usually happens when the pan isn’t hot enough, there’s insufficient oil, or you’re trying to flip too early. Make sure the bottom is well-browned before attempting to flip.
Q: How can I make my hash browns more flavorful? Try adding minced onions, garlic powder, paprika, or fresh herbs. You can also experiment with different types of salt or add a touch of butter for richness.
Q: Can I prepare hash browns the night before? Yes, you can complete the soaking, rinsing, and drying process the night before. Store the prepared potatoes in the refrigerator and cook them fresh in the morning.
Q: What’s the best way to reheat leftover hash browns? Use the oven at 400°F or a skillet over medium heat. Avoid the microwave, which will make them soggy.
Q: How do I prevent my hash browns from falling apart when flipping? Use the plate-flip method I described, or cook them longer on the first side to develop a stronger crust that holds everything together.
Q: Can I freeze cooked hash browns? Yes, cooked hash browns freeze well for up to 3 months. Reheat them directly from frozen in the oven or air fryer for best results.
The journey to perfect hash browns is one of patience and technique, but the rewards are worth every effort. Once you master these fundamentals, you’ll never settle for subpar hash browns again. The combination of proper preparation, moisture control, and cooking technique creates a breakfast experience that rivals the best restaurants. Remember, consistency comes with practice, so don’t be discouraged if your first attempt isn’t perfect. Each batch teaches you something new about timing, temperature, and technique.
Whether you’re cooking for family breakfast, hosting a brunch, or simply treating yourself to a special morning meal, homemade crispy hash browns represent the perfect marriage of simplicity and skill. Take your time with each step, trust the process, and soon you’ll be creating golden, crispy perfection that will make every breakfast memorable.