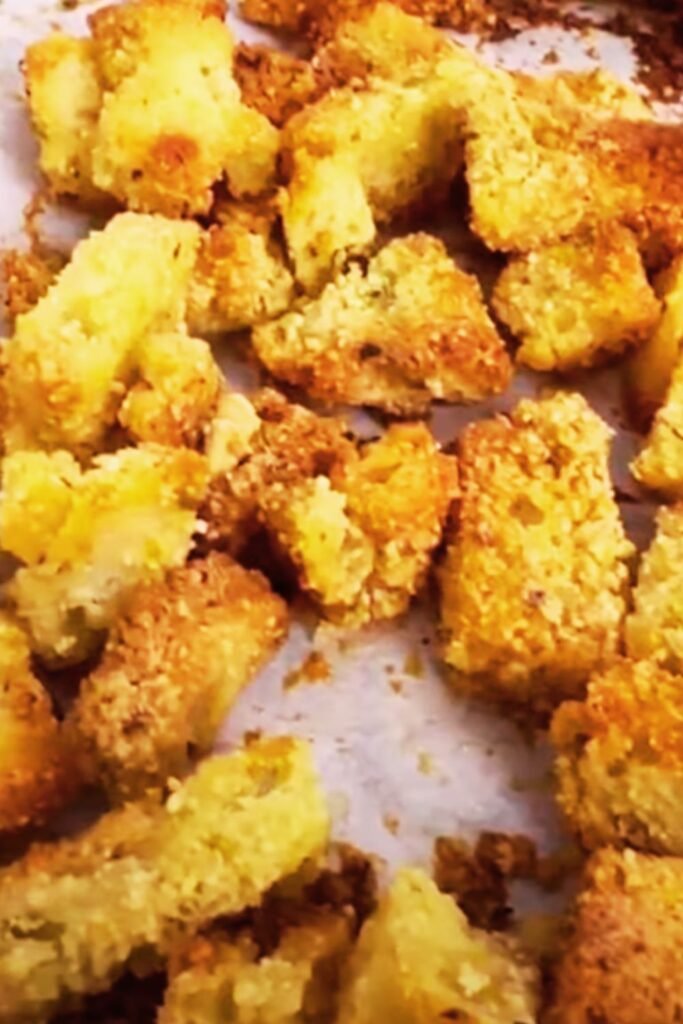
There’s something magical about the aroma of garlic and butter wafting through my kitchen as homemade croutons transform from ordinary bread into golden, crispy perfection. I’ve been making these garlic and parmesan croutons for over a decade, and they never fail to elevate any dish from mundane to magnificent.
When I first started my culinary journey, I was intimidated by the idea of making croutons from scratch. Why bother when you can buy them pre-made? But once I discovered how incredibly simple and rewarding it is to create these crunchy golden cubes at home, there was no turning back. The difference in flavor, texture, and freshness is absolutely remarkable.
My homemade garlic and parmesan croutons have become the secret weapon in my recipe arsenal. They’re the finishing touch that transforms a simple salad into a restaurant-quality experience, the perfect accompaniment to my favorite soups, and sometimes I catch myself sneaking them straight from the cooling rack as a standalone snack.
What Makes Perfect Croutons?
Croutons: Small cubes of toasted or fried bread, typically seasoned and used as a garnish for soups and salads.
Staling: The process by which bread loses moisture and becomes firmer, making it ideal for crouton-making.
Maillard Reaction: The chemical reaction between amino acids and sugars that occurs during browning, creating complex flavors and aromas in toasted bread.
The foundation of exceptional croutons lies in understanding these three key elements. When I explain this to friends, I always emphasize that perfect croutons aren’t just about following a recipe – they’re about understanding the science behind what makes bread transform into those irresistible golden cubes.
Essential Ingredients and Their Impact
| Ingredient | Purpose | Quality Impact | Substitution Options |
|---|---|---|---|
| Day-old bread | Provides structure and absorbs flavors | Stale bread creates crispier texture | Fresh bread (dried in oven first) |
| Extra virgin olive oil | Creates golden crust and carries flavors | Higher quality oil = better taste | Melted butter, avocado oil |
| Fresh garlic | Adds aromatic depth | Fresh garlic is more potent than powder | Garlic powder (use 1/4 amount) |
| Parmesan cheese | Provides umami and saltiness | Freshly grated melts better | Pre-grated (less flavor) |
| Kosher salt | Enhances all flavors | Even distribution crucial | Sea salt, table salt |
| Black pepper | Adds subtle heat | Freshly ground preferred | Pre-ground pepper |
Through years of experimentation, I’ve learned that each ingredient plays a crucial role in the final result. The bread choice alone can make or break your croutons – I prefer using day-old sourdough or French bread because they have the perfect balance of density and flavor absorption.
My Foolproof Recipe
Ingredients:
- 6 cups day-old bread, cut into 3/4-inch cubes
- 1/3 cup extra virgin olive oil
- 4 cloves fresh garlic, minced
- 1/2 cup freshly grated Parmesan cheese
- 1 teaspoon kosher salt
- 1/2 teaspoon freshly ground black pepper
- 1/2 teaspoon dried Italian herbs (optional)
- 2 tablespoons fresh parsley, chopped (for garnish)
Instructions:
- Preheat and prepare: Set your oven to 375°F (190°C). Line a large baking sheet with parchment paper. This temperature gives me the perfect balance of crispy exterior and tender interior.
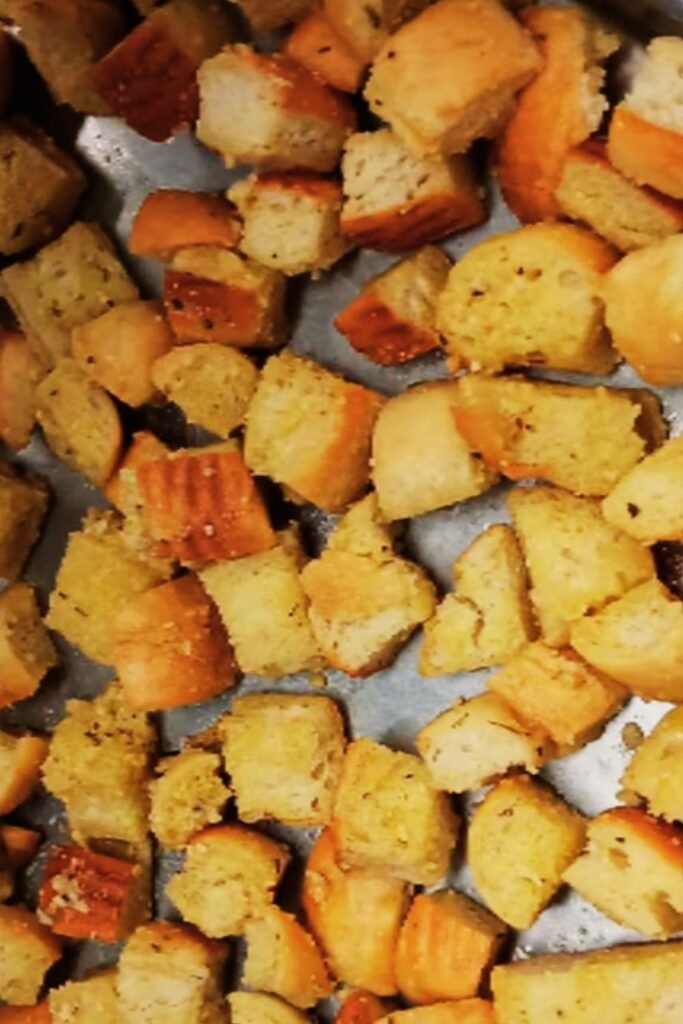
- Prepare the bread: Cut your day-old bread into uniform cubes, approximately 3/4-inch in size. Consistency is key here – uniform pieces ensure even browning.
- Create the flavor base: In a large mixing bowl, combine olive oil, minced garlic, salt, pepper, and Italian herbs. I let this mixture sit for about 5 minutes to allow the garlic to infuse the oil.
- Coat the bread: Add bread cubes to the oil mixture and toss thoroughly until every piece is well-coated. I use my hands for this step – it ensures complete coverage.
- Add the cheese: Sprinkle the grated Parmesan over the coated bread cubes and toss again. The cheese should stick to the oiled bread pieces.
- Arrange for baking: Spread the seasoned bread cubes in a single layer on your prepared baking sheet. Overcrowding leads to steaming instead of crisping.
- Bake to perfection: Place in the preheated oven for 12-15 minutes, stirring once halfway through. I look for a deep golden-brown color and listen for that satisfying crunch when I test one.
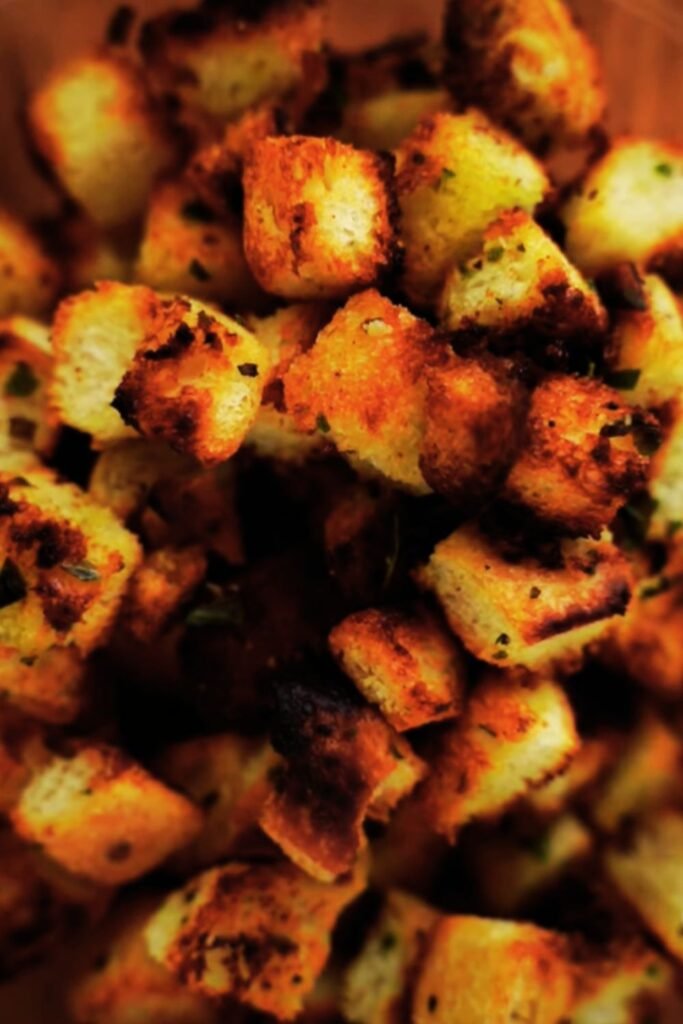
- Cool and garnish: Remove from oven and let cool on the baking sheet for 5 minutes. Sprinkle with fresh chopped parsley before serving.
Bread Selection Guide
The type of bread you choose dramatically affects your final result. Over the years, I’ve tested virtually every bread variety, and here’s what I’ve discovered:
| Bread Type | Texture Result | Flavor Profile | Best Uses |
|---|---|---|---|
| Sourdough | Crispy exterior, chewy center | Tangy, complex | Caesar salads, tomato soups |
| French/Italian bread | Very crispy | Mild, neutral | Versatile, all-purpose |
| Whole wheat | Dense, hearty | Nutty, robust | Heartier soups, grain salads |
| Brioche | Rich, buttery crisp | Sweet, luxurious | Special occasion salads |
| Rye bread | Firm, distinctive | Earthy, unique | German-style dishes |
| Focaccia | Herb-infused crisp | Aromatic, herby | Mediterranean dishes |
My personal favorite remains day-old sourdough because it provides the perfect canvas for the garlic and parmesan flavors while maintaining structural integrity during the baking process.
Mastering the Technique
Temperature Control
I’ve learned that temperature control is absolutely critical. Too high, and the outside burns before the inside crisps. Too low, and they dry out without developing that coveted golden color. The sweet spot I’ve found is 375°F, which allows for proper moisture evaporation while encouraging the Maillard reaction.
Oil Distribution
The key to evenly golden croutons lies in proper oil distribution. I always use my hands to toss the bread cubes because it ensures every surface gets coated. When oil pools in corners or some pieces remain dry, you end up with inconsistent results.
Timing and Testing
I never rely solely on time when baking croutons. Instead, I test one piece at the 12-minute mark. The perfect crouton should sound hollow when tapped and have a satisfying crunch when bitten. If they’re not quite there, I give them another 2-3 minutes.
Flavor Variations I Love
Mediterranean Style
Replace Italian herbs with oregano and add sun-dried tomatoes and olives for a Mediterranean twist that pairs beautifully with Greek salads.
Spicy Kick
Add red pepper flakes and a dash of paprika for croutons that bring heat to any dish.
Herb Garden
Use fresh rosemary, thyme, and sage for an aromatic version that’s perfect with autumn soups.
Lemon Zest
A touch of fresh lemon zest brightens the flavor profile and pairs wonderfully with lighter salads.
Storage and Freshness Tips
Proper storage is crucial for maintaining that perfect crunch I work so hard to achieve. Here’s my proven method:
Short-term Storage (1-3 days)
Store completely cooled croutons in an airtight container at room temperature. I always make sure they’re completely cool before sealing to prevent condensation.
Long-term Storage (up to 1 month)
For longer storage, I freeze croutons in freezer bags. They maintain their texture remarkably well and can be refreshed in a 350°F oven for 3-4 minutes.
Freshness Revival
If croutons lose their crunch, I spread them on a baking sheet and toast at 350°F for 3-5 minutes. This simple trick restores their crispy texture.
Nutritional Benefits and Considerations
| Nutrient | Per 1/4 Cup Serving | Health Benefits |
|---|---|---|
| Calories | 95 | Moderate energy boost |
| Protein | 3.2g | Muscle maintenance |
| Carbohydrates | 8.5g | Quick energy source |
| Fat | 6.1g | Satiety and flavor |
| Fiber | 1.2g | Digestive health |
| Calcium | 85mg | Bone health (from Parmesan) |
| Iron | 0.8mg | Oxygen transport |
While croutons are primarily a flavor enhancer rather than a nutritional powerhouse, they do contribute some beneficial nutrients, particularly when made with whole grain bread and quality olive oil.
Troubleshooting Common Issues
Problem: Soggy Croutons
Solution: Ensure bread is properly stale, don’t overcrowd the pan, and verify oven temperature accuracy.
Problem: Burnt Exterior, Soft Interior
Solution: Lower oven temperature to 350°F and extend baking time.
Problem: Uneven Browning
Solution: Cut bread cubes more uniformly and stir more frequently during baking.
Problem: Bland Flavor
Solution: Increase salt, use fresh garlic instead of powder, and ensure oil carries flavors well.
Serving Suggestions and Pairings
These versatile croutons enhance numerous dishes in my kitchen:
Salad Toppers
- Classic Caesar salad
- Mixed greens with vinaigrette
- Caprese salad variations
- Spinach and strawberry salad
Soup Companions
- Creamy tomato bisque
- French onion soup
- Butternut squash soup
- Minestrone
Creative Applications
- Crushed as a coating for chicken
- Mixed into stuffing
- Sprinkled over pasta dishes
- Added to grain bowls
Cost Comparison and Value
Making croutons at home offers significant savings compared to store-bought options:
| Option | Cost per Cup | Quality | Customization |
|---|---|---|---|
| Homemade | $0.75 | Excellent | Complete control |
| Premium store-bought | $3.50 | Good | Limited options |
| Standard store-bought | $2.25 | Fair | No customization |
| Restaurant | $4.00+ | Variable | None |
Beyond the financial savings, homemade croutons allow me complete control over ingredients, ensuring no preservatives or artificial flavors make their way into my family’s meals.
Advanced Techniques for Perfect Results
Double-Seasoning Method
I sometimes apply seasonings in two stages – once before baking and again immediately after, while the croutons are still warm. This creates layers of flavor that really make them special.
Oil Infusion Technique
For even more intense garlic flavor, I gently warm the olive oil with sliced garlic for 5 minutes before straining and using the infused oil. This creates a more mellow, complex garlic taste.
Cheese Timing
Adding half the Parmesan before baking and half immediately after creates both baked-in flavor and fresh cheese taste.
Seasonal Adaptations
I love adapting my crouton recipe to match seasonal ingredients and flavors:
Spring Version
Fresh herbs like chives and dill, with a hint of lemon zest
Summer Style
Dried tomatoes and basil for that peak summer taste
Fall Flavors
Sage, rosemary, and a touch of maple for autumn warmth
Winter Comfort
Extra garlic, thyme, and black pepper for hearty winter dishes
Questions and Answers
Q. Can I make croutons with fresh bread instead of day-old bread? A. Yes, but you’ll need to dry it out first. I cut fresh bread into cubes and toast them lightly in a 300°F oven for 5-7 minutes before proceeding with the recipe. Fresh bread tends to create softer croutons, so this pre-drying step is essential.
Q. How do I prevent my croutons from burning while still getting them crispy? A. The key is managing your oven temperature and timing. I always use 375°F and check them at 10 minutes, then every 2 minutes after that. If they’re browning too quickly, I lower the temperature to 350°F and extend the baking time.
Q. Can I make these croutons dairy-free? A. Absolutely! Simply omit the Parmesan cheese and add extra herbs and seasonings like nutritional yeast for a cheesy flavor without dairy. The garlic, herbs, and olive oil still create incredibly flavorful croutons.
Q. What’s the best way to cut bread cubes uniformly? A. I use a sharp serrated knife and cut the bread into slices first, then stack 2-3 slices and cut into strips, then cut the strips into cubes. This method ensures more uniform pieces that bake evenly.
Q. Can these croutons be made in an air fryer? A. Yes! I cook them at 350°F for 8-10 minutes, shaking the basket every 3 minutes. The air fryer actually creates incredibly crispy results, though you’ll need to work in smaller batches.
Q. How long do homemade croutons stay fresh? A. When stored properly in an airtight container at room temperature, they maintain their crunch for 3-4 days. I’ve found that after that, they start to lose their crispy texture, though they’re still edible.
Q. Can I freeze these croutons for later use? A. Definitely! I freeze them in freezer bags for up to one month. To refresh frozen croutons, I spread them on a baking sheet and warm them in a 350°F oven for 3-4 minutes.
Q. What type of olive oil works best for croutons? A. I prefer extra virgin olive oil for its robust flavor, but any good-quality olive oil works. The oil carries the garlic and herb flavors, so using a flavorful oil makes a noticeable difference in the final taste.
Q. Can I add other cheeses besides Parmesan? A. Certainly! I’ve had great success with Romano, Asiago, and even sharp cheddar. Just keep in mind that different cheeses have varying melting points and salt levels, so you may need to adjust accordingly.
Q. Why do my croutons sometimes turn out chewy instead of crispy? A. This usually happens when there’s too much moisture in the bread or the oven temperature is too low. Make sure your bread is properly day-old or pre-dried, and verify your oven temperature with a thermometer.
My homemade garlic and Parmesan croutons have become such a staple in my kitchen that I can hardly imagine cooking without them. They represent everything I love about home cooking – taking simple, everyday ingredients and transforming them into something extraordinary through technique, care, and attention to detail.
The beauty of this recipe lies not just in its simplicity, but in its versatility and the satisfaction that comes from creating something so much better than store-bought alternatives. Every time I hear that satisfying crunch and taste the perfect balance of garlic, Parmesan, and herbs, I’m reminded why cooking from scratch is always worth the effort.
Whether you’re looking to elevate a simple salad, add texture to your favorite soup, or create a special finishing touch for a dinner party, these croutons deliver every single time. They’re proof that sometimes the smallest details make the biggest difference in our cooking, and they’ve earned their place as an essential component in my culinary repertoire.