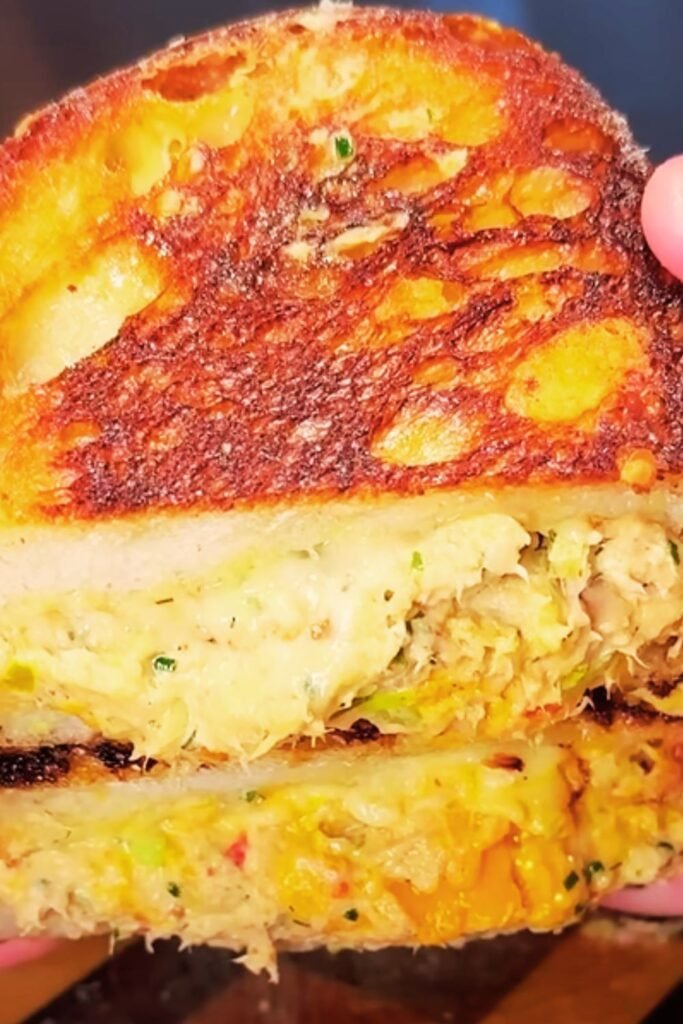
I’ve been perfecting my tuna melt recipe for over a decade, and I can confidently say that what I’m about to share with you will transform how you think about this classic comfort food. The tuna melt isn’t just a sandwich—it’s a warm, gooey masterpiece that combines the richness of perfectly seasoned tuna salad with melted cheese and crispy bread. When done right, every bite delivers a symphony of textures and flavors that’ll have you craving more.
My journey with tuna melts began in my grandmother’s kitchen, where I learned that the secret isn’t just in the ingredients, but in the technique. Over the years, I’ve experimented with countless variations, tested different breads, cheeses, and preparation methods. What I’ve discovered is that the difference between a mediocre tuna melt and an extraordinary one lies in the details—from selecting the right tuna to achieving that perfect golden-brown crust.
Essential Ingredients for the Perfect Tuna Melt
Creating the ultimate tuna melt starts with understanding each component and how they work together. I’ve learned that quality ingredients make an enormous difference, and there are specific characteristics you should look for in each element.
Tuna Selection and Preparation
Tuna Type: I always use solid white albacore tuna packed in water. The texture holds together beautifully, and the flavor is clean and mild. While chunk light tuna works, I find it can become mushy and doesn’t provide the substantial bite that makes a tuna melt satisfying.
Drainage Technique: Proper drainage is crucial. I press the tuna in a fine-mesh strainer for at least 5 minutes, occasionally pressing with a spoon to remove excess moisture. Wet tuna creates soggy sandwiches and prevents proper browning.
Bread Foundation
The bread serves as more than just a vessel—it’s an integral part of the tuna melt experience. I prefer thick-cut sourdough for its tangy flavor and sturdy structure, but rye bread adds a distinctive taste that pairs wonderfully with tuna. White bread works in a pinch, but choose a high-quality version that won’t fall apart under the weight of the toppings.
Cheese Selection Guide
| Cheese Type | Melting Quality | Flavor Profile | Best For |
|---|---|---|---|
| Sharp Cheddar | Excellent | Bold, tangy | Traditional preference |
| Swiss | Good | Nutty, mild | Light, elegant version |
| Gruyere | Outstanding | Rich, complex | Gourmet upgrade |
| American | Perfect | Creamy, mild | Kid-friendly option |
| Provolone | Very Good | Smooth, subtle | Italian-inspired twist |
My Signature Tuna Salad Recipe
The foundation of any great tuna melt is exceptional tuna salad. My recipe balances flavors and textures to create something that’s delicious on its own but becomes transcendent when melted.
Ingredients:
- 2 cans (5 oz each) solid white albacore tuna in water
- 1/3 cup high-quality mayonnaise
- 1 tablespoon Dijon mustard
- 1 medium celery stalk, finely diced
- 2 tablespoons red onion, minced
- 1 tablespoon fresh lemon juice
- 1/2 teaspoon garlic powder
- 1/4 teaspoon freshly ground black pepper
- 1/4 teaspoon paprika
- 2 tablespoons fresh chives, chopped
- 1 hard-boiled egg, chopped (optional)
Preparation Method:
I start by thoroughly draining the tuna, as I mentioned earlier. In a medium bowl, I combine the mayonnaise and Dijon mustard—the mustard adds a subtle tang that elevates the entire mixture. I then add the tuna, breaking it into chunks rather than completely flaking it. I want some texture in my tuna salad.
The vegetables come next. I dice the celery very finely because large pieces can make the sandwich difficult to bite through. The red onion provides a gentle bite, but if you find raw onion too strong, you can soak the minced pieces in cold water for 10 minutes before adding them.
The lemon juice brightens everything up and prevents the mixture from tasting heavy. I add the seasonings gradually, tasting as I go. The paprika isn’t just for flavor—it adds a beautiful color that makes the tuna salad more visually appealing.
Step-by-Step Assembly Process
Creating the perfect tuna melt requires attention to timing and technique. I’ve developed a method that ensures even cooking and optimal flavor distribution.
Pre-Assembly Preparation
Before I start assembling, I preheat my oven to 400°F (200°C) or heat my skillet over medium heat if I’m using the stovetop method. I also slice my cheese if using block cheese—slices should be about 1/8-inch thick for optimal melting.
Assembly Technique
I start with room temperature bread, which toasts more evenly than cold bread. I spread a thin layer of butter on one side of each slice—this creates the golden, crispy exterior that makes a tuna melt irresistible.
On the unbuttered side of one slice, I spread the tuna salad evenly, leaving about a half-inch border around the edges. This prevents the filling from oozing out during cooking. I use approximately 1/2 to 2/3 cup of tuna salad per sandwich—enough to be generous but not so much that it becomes unwieldy.
The cheese goes directly on top of the tuna salad. I overlap the slices slightly to ensure complete coverage. If I’m adding any optional ingredients like sliced tomatoes or avocado, they go between the tuna and cheese to prevent them from making the bread soggy.
Cooking Methods Comparison
Over the years, I’ve tried every method imaginable for cooking tuna melts. Each technique has its merits, and I choose based on my mood and available time.
Oven Method (My Preferred Technique)
The oven method produces the most consistent results and allows me to make multiple sandwiches simultaneously. I place the assembled sandwiches on a baking sheet lined with parchment paper and bake for 10-12 minutes until the cheese is bubbly and the bread is golden brown.
Advantages: Even heating, hands-off cooking, perfect for multiple sandwiches Disadvantages: Takes longer to preheat, uses more energy for single sandwiches
Skillet Method
For a single sandwich or when I want more control over the browning, I use a heavy-bottomed skillet over medium heat. I cook for 3-4 minutes per side, pressing gently with a spatula to ensure even contact.
Advantages: Quick, gives excellent crust control, energy efficient Disadvantages: Requires attention, difficult for multiple sandwiches
Panini Press Method
When I want perfectly compressed sandwiches with distinctive grill marks, my panini press is ideal. I cook for 4-5 minutes until the cheese melts and the bread develops those beautiful crosshatch marks.
Advanced Techniques and Tips
After years of making tuna melts, I’ve discovered several techniques that elevate this simple sandwich into something truly special.
Temperature Control
Temperature control is perhaps the most critical aspect that home cooks overlook. If the heat is too high, the bread burns before the cheese melts. Too low, and you end up with dry bread and barely melted cheese. I’ve found that medium heat (around 325-350°F for oven cooking) provides the perfect balance.
Moisture Management
Managing moisture prevents soggy sandwiches. Besides properly draining the tuna, I sometimes toast the bread lightly before assembly if I’m using particularly moist ingredients. I also avoid adding tomatoes directly to the sandwich—instead, I serve them on the side or add them just before serving.
Flavor Enhancement Techniques
To boost umami flavors, I sometimes add a thin layer of tomato paste mixed with a touch of Worcestershire sauce to the bread before adding the tuna salad. This creates an extra layer of savory depth that complements the tuna beautifully.
Nutritional Analysis and Health Benefits
| Nutrient | Per Serving | % Daily Value |
|---|---|---|
| Calories | 485 | 24% |
| Protein | 32g | 64% |
| Total Fat | 28g | 36% |
| Saturated Fat | 12g | 60% |
| Carbohydrates | 28g | 10% |
| Fiber | 2g | 7% |
| Sodium | 980mg | 43% |
| Omega-3 Fatty Acids | 0.8g | – |
| Calcium | 380mg | 29% |
Tuna melts provide excellent protein content, making them satisfying and nutritionally substantial. The omega-3 fatty acids from tuna support heart and brain health, while the calcium from cheese contributes to bone health. To make the sandwich healthier, I sometimes use Greek yogurt to replace half the mayonnaise, which increases protein while reducing calories and fat.
Creative Variations and Upgrades
My basic tuna melt recipe serves as a foundation for countless variations. I love experimenting with different flavors and ingredients to keep this classic interesting.
Mediterranean Tuna Melt
I replace regular mayonnaise with olive oil-based mayo, add chopped kalamata olives, sun-dried tomatoes, and use feta cheese instead of cheddar. The result is bright and Mediterranean-inspired.
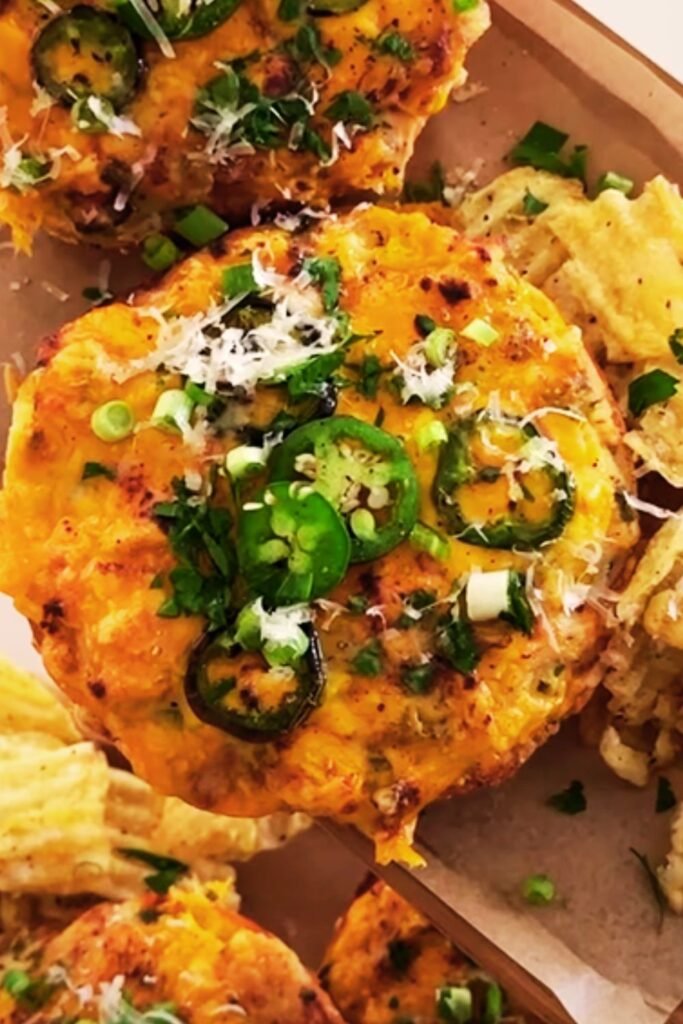
Spicy Southwest Version
I mix in diced jalapeños, cumin, and lime juice, then top with pepper jack cheese and sliced avocado. It’s got a kick that transforms the humble tuna melt into something exciting.
Gourmet Artisan Style
Using thick-cut artisan bread, I add capers, fresh dill, and cream cheese to the tuna mixture, then top with aged Gruyere. It’s sophisticated enough for dinner parties.
Troubleshooting Common Problems
Even experienced cooks encounter issues with tuna melts. I’ve made every mistake possible and learned from each one.
Soggy Bread Solutions
If your bread consistently turns out soggy, the problem is usually excess moisture in the tuna salad or insufficient draining of the tuna. I also recommend toasting the bread lightly before assembly and avoiding over-saucing the tuna mixture.
Uneven Cheese Melting
This typically happens when the cheese is too thick or the heat is too high. I slice my cheese thin and cook at moderate temperatures to ensure even melting from edge to edge.
Filling Spillage
When tuna salad oozes out during cooking, it’s usually because I’ve overfilled the sandwich or haven’t left enough border space. I’ve learned to be generous but not excessive with my portions.
Serving Suggestions and Pairings
A great tuna melt deserves equally thoughtful accompaniments. I’ve discovered several pairings that complement rather than compete with the sandwich’s flavors.
Classic Sides
Crispy dill pickle spears provide acidic contrast that cuts through the richness of the cheese and mayonnaise. I also love serving tuna melts with homemade potato chips or a simple green salad with vinaigrette.
Soup Pairings
Tomato soup is the classic pairing, but I also enjoy tuna melts with cream of mushroom soup or a light vegetable broth. The warm soup balances the richness of the sandwich perfectly.
Fresh Accompaniments
Sliced fresh tomatoes with a sprinkle of salt and pepper make an excellent side. I also prepare a simple coleslaw with a light vinaigrette dressing that adds crunch and freshness to the meal.
Storage and Make-Ahead Tips
While tuna melts are best enjoyed fresh, I’ve developed strategies for meal prep and storage that maintain quality.
Tuna Salad Preparation
The tuna salad component can be made up to 3 days ahead and stored in the refrigerator. In fact, I think it tastes better after the flavors have had time to meld. I store it in an airtight container and give it a quick stir before using.
Freezing Guidelines
I don’t recommend freezing assembled tuna melts because the texture suffers significantly. However, the tuna salad can be frozen for up to 1 month. I thaw it completely and drain any excess liquid before using.
Reheating Methods
Leftover tuna melts can be reheated in a 350°F oven for 5-7 minutes. I avoid the microwave because it makes the bread soggy and doesn’t properly re-melt the cheese.
Ingredient Substitutions and Dietary Modifications
I understand that dietary needs and preferences vary, so I’ve experimented with numerous substitutions to make tuna melts accessible to everyone.
Dairy-Free Options
For lactose-intolerant individuals, I use dairy-free cheese alternatives and vegan mayonnaise. Nutritional yeast sprinkled on top adds a cheesy flavor without dairy.
Gluten-Free Adaptations
High-quality gluten-free bread works well, though I find it requires slightly longer cooking times to achieve proper crispness. I also serve the tuna salad over rice cakes or in lettuce cups for a completely grain-free option.
Lower-Calorie Versions
I substitute Greek yogurt for half the mayonnaise and use reduced-fat cheese. Open-faced tuna melts on a single slice of bread cut calories significantly while maintaining the essential flavors.
Seasonal Variations and Ingredient Freshness
Throughout the year, I adapt my tuna melt recipe to take advantage of seasonal ingredients and maintain peak freshness.
Spring and Summer Additions
During warmer months, I incorporate fresh herbs like basil or dill from my garden. I also add thinly sliced cucumber for extra crunch and freshness.
Fall and Winter Comfort
In cooler weather, I sometimes add roasted red peppers or caramelized onions to the tuna mixture. These ingredients provide warmth and depth that’s perfect for comfort food season.
Ingredient Freshness Tips
I always check expiration dates on canned tuna and rotate my stock. Fresh vegetables should be crisp and vibrant—wilted celery or strong-smelling onions can ruin an otherwise perfect tuna melt.
Professional Chef Secrets
Over the years, I’ve picked up techniques from professional chefs that have dramatically improved my tuna melts.
Compound Butter Enhancement
I sometimes make a compound butter with herbs and garlic for spreading on the bread. This adds an extra layer of flavor that makes the sandwich feel restaurant-quality.
Umami Boosters
A tiny amount of anchovy paste mixed into the tuna salad (about 1/4 teaspoon) adds incredible depth without a fishy taste. Worcestershire sauce achieves a similar effect for those who prefer to avoid anchovies.
Textural Elements
Adding a small amount of chopped toasted nuts—walnuts or almonds work particularly well—provides textural interest that elevates the entire eating experience.
Cultural Variations Around the World
The concept of melted tuna sandwiches exists in various forms across different cultures, and I’ve incorporated some of these international touches into my recipes.
British Influence
In the UK, tuna melts often include sweetcorn and sometimes baked beans. While unconventional to American palates, the sweetness of corn complements tuna beautifully.
French Inspiration
French versions often include capers and use Gruyere cheese. The addition of fresh herbs like tarragon creates a more sophisticated flavor profile.
Japanese Fusion
Taking inspiration from Japanese tuna preparations, I sometimes add a touch of soy sauce and sesame oil to the tuna mixture, then use nori flakes as a garnish.
Q&A Section
Q: What’s the secret to preventing soggy tuna melts? The key is proper drainage of the tuna and moisture management throughout the process. I drain the tuna thoroughly, use the right amount of mayonnaise, and avoid over-saucing the mixture.
Q: Can I make tuna melts without mayonnaise? Absolutely! I often substitute Greek yogurt, mashed avocado, or olive oil mixed with lemon juice. Each creates a different flavor profile but maintains the creamy texture that makes tuna salad work.
Q: What’s the best bread for tuna melts? I prefer thick-cut sourdough for its structure and tangy flavor, but rye, whole wheat, and even English muffins work well. The key is choosing bread that won’t fall apart under the weight of the toppings.
Q: How do I know when the cheese is perfectly melted? The cheese should be bubbly and completely melted with no solid white areas visible. It should be golden on top but not brown, which indicates burning.
Q: Can I prepare tuna melts ahead of time? While the tuna salad can be made days ahead, I recommend assembling and cooking tuna melts just before serving for the best texture and flavor.
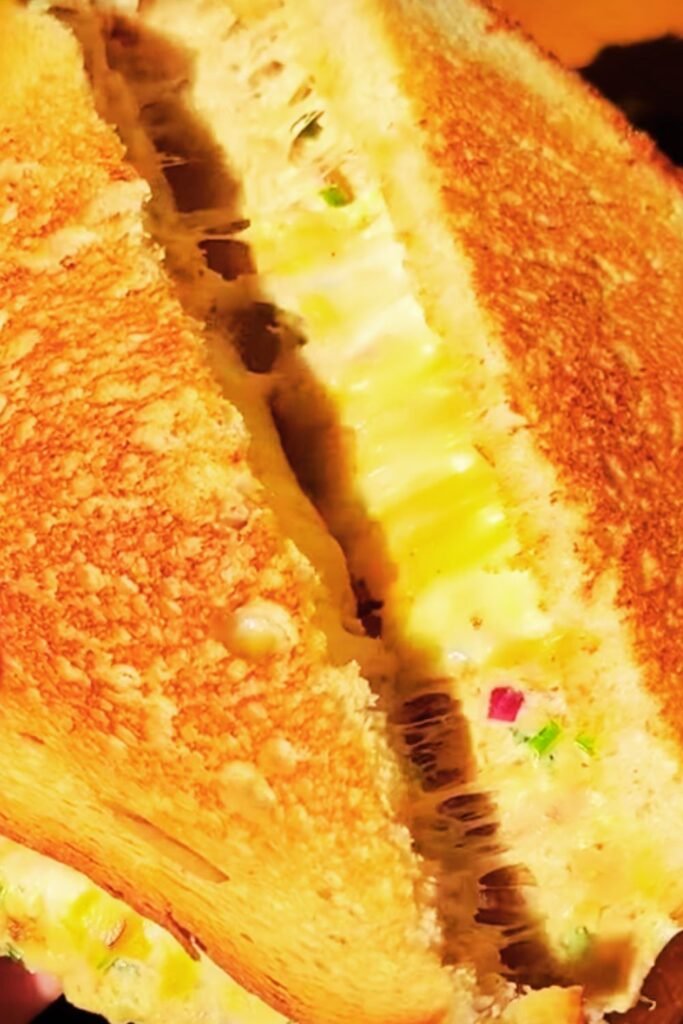
Q: What’s the difference between a tuna melt and a regular tuna sandwich? A tuna melt is heated, allowing the cheese to melt and the flavors to meld together. The heating process also creates a crispy exterior that contrasts beautifully with the creamy interior.
Q: How do I prevent the filling from falling out? Leave a border around the edges when spreading the tuna salad, don’t overfill the sandwich, and consider using slightly less mayonnaise if your mixture seems too loose.
Q: Can I use fresh tuna instead of canned? Fresh tuna works, but it creates a completely different dish. I recommend searing the fresh tuna briefly and flaking it while warm. The flavor will be more intense and the texture firmer.
Q: What cheese melts best for tuna melts? Sharp cheddar is classic and melts beautifully. Swiss, Gruyere, and American cheese also work well. Avoid very hard cheeses that don’t melt smoothly.
Q: How can I make my tuna melts more flavorful? Focus on seasoning the tuna salad well with herbs, spices, and acid (lemon juice). Adding texture with celery and onion, and choosing high-quality ingredients makes a significant difference.
The perfect tuna melt represents comfort food at its finest—simple ingredients transformed through technique into something truly satisfying. My approach combines traditional methods with modern understanding of flavor and texture to create sandwiches that exceed expectations every time. Whether you’re making a quick lunch or preparing comfort food for loved ones, these techniques will help you create tuna melts that become a treasured part of your recipe repertoire.